
Introduction to Cheesy Garlic Chicken Wraps
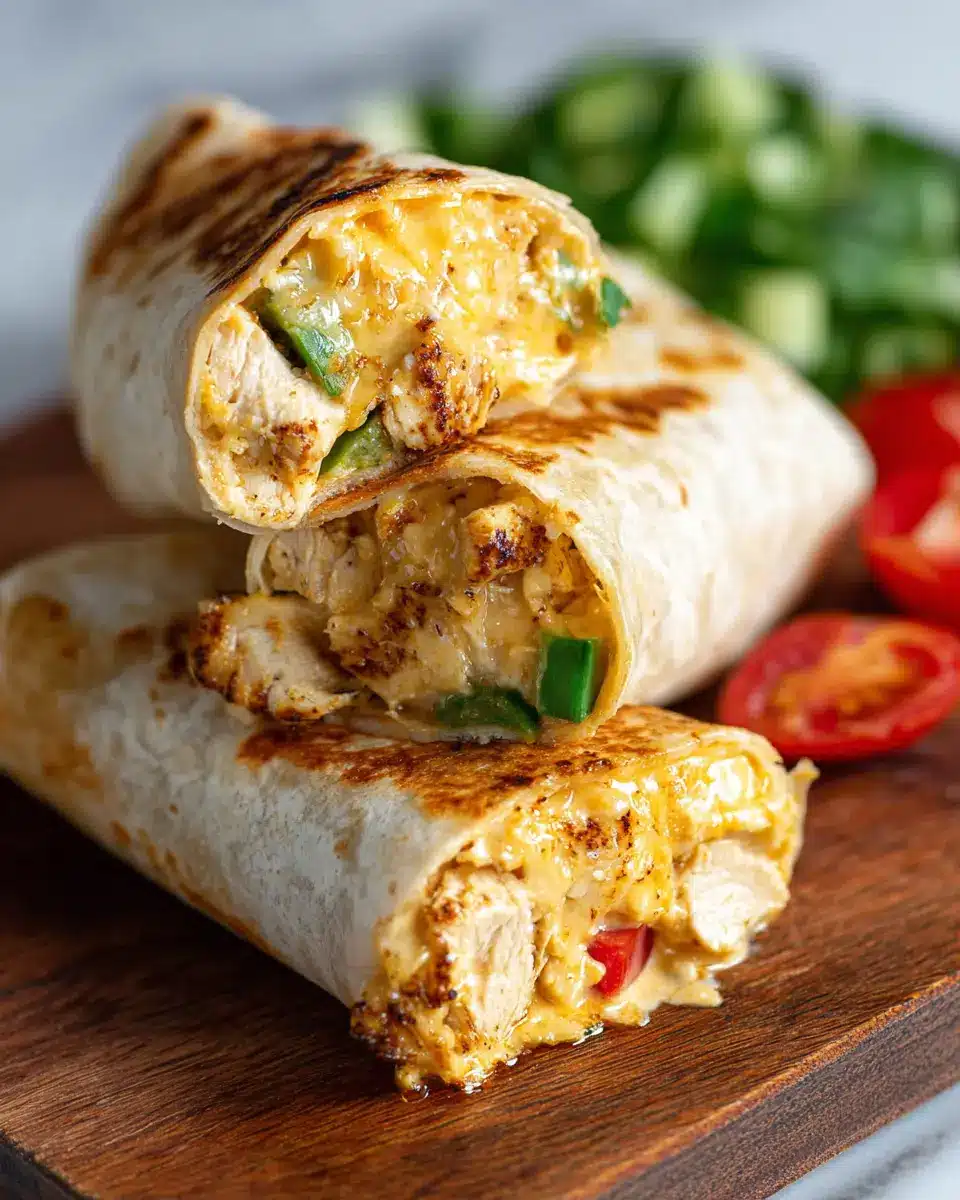
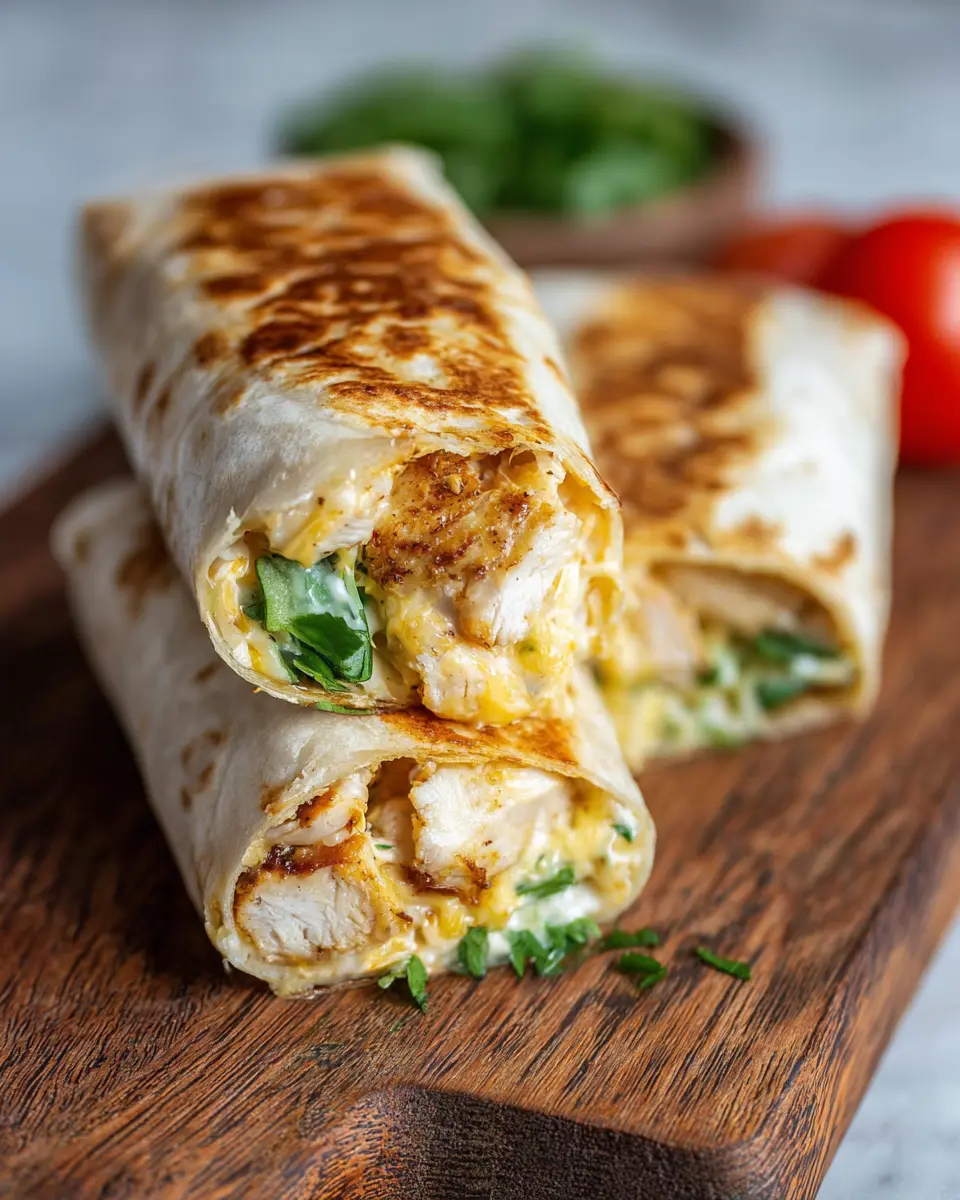
Making quick, satisfying meals is essential for busy young professionals juggling work, social lives, and personal commitments. That’s where cheesy garlic chicken wraps come into play! These wraps blend convenience with deliciousness, offering an effortless solution for lunch or dinner. Imagine biting into a crispy tortilla, savoring the rich, garlicky, and melty cheese filling—it's pure comfort food that doesn’t sacrifice health.
This dish is not only a feast for your taste buds but also packed with protein, making it great for fueling your busy day. With just a prep time of 15 minutes and a cook time of 7, you'll have a hearty meal in about 22 minutes!
Why spend money on takeout when you can whip up a flavorful batch at home? Plus, you can personalize your cheesy garlic chicken wraps with your favorite ingredients, ensuring you have control over what you eat. If you're looking to incorporate healthy eating into your fast-paced lifestyle, this recipe is a fantastic way to start.
Curious about making it and want to see how it’s done? Let’s dive into the details! Plus, check out Cooking Light for more tips on healthy meal prep.
Ingredients for Cheesy Garlic Chicken Wraps
Essential components for a tasty wrap
Creating cheesy garlic chicken wraps is straightforward and delicious, thanks to some key ingredients that enhance flavor and texture. You'll need:
- Tortillas: Choose regular or low-carb/high-protein varieties to suit your dietary needs.
- Cooked chicken: Shredded or chopped, rotisserie chicken works brilliantly for its savory taste and convenience.
- Garlic: Freshly minced or grated, garlic is essential for that irresistible aroma and flavor.
- Mayo and yogurt: A blend of light mayonnaise and Greek yogurt keeps the filling creamy and adds a tangy note.
- Cheese: A blend of your favorite cheeses (like cheddar) contributes richness and that gooey melt we can't resist.
- Green onion: This adds a fresh crunch to balance out the creaminess.
Suggested substitutes and alternatives
Not all ingredients are set in stone! Here are a few options to make the recipe your own:
- Swap cooked chicken for turkey bacon or chicken ham if you're looking for a different protein.
- For a vegan alternative, consider using shredded tofu or chickpeas instead of chicken, paired with a vegan mayo.
- Instead of regular tortillas, try using whole grain or gluten-free tortillas to suit your preferences.
Feel free to mix and match based on what you have in your pantry! Cooking is all about improvisation, after all.
Step-by-Step Preparation of Cheesy Garlic Chicken Wraps
Crafting the perfect cheesy garlic chicken wraps is a delightful journey filled with flavor and satisfying textures. Let’s break it down step-by-step, so you can enjoy this easy, high-protein meal soon!
Gather and prepare your ingredients
Before diving into the cooking, it's essential to gather all the ingredients you'll need. You’ll need:
- 2 large tortillas (regular or low-carb/high-protein)
- 7 oz cooked chicken (about 200 grams, chopped)
- 2 garlic cloves (minced or grated, adjust to taste)
- 2 tablespoons light mayonnaise
- 1 tablespoon light Greek yogurt or plain yogurt
- 2 teaspoons hot sauce (Frank’s is a favorite)
- ¼ teaspoon salt
- 3 oz grated cheese (about 90 grams, a cheddar blend works wonders)
- 1 chopped green onion
- Olive oil spray
This simple lineup not only packs a flavor punch but is also quick to assemble. Don’t forget to prep by chopping your ingredients so that they’re ready to go!
Combine chicken, garlic, and sauces in a bowl
In a mixing bowl, combine your cooked chicken, minced garlic, mayonnaise, yogurt, hot sauce, and salt. The garlic will add a delicious aroma, while the combination of the creamy mayonnaise and tangy yogurt will create a velvety filling that holds everything together. Stir until well blended—this is where the magic begins!
For those curious about nutritional benefits, this chicken blend offers loads of protein and flavor without bogging you down with heavy fats.
Assemble the wrap with cheese and filling
Lay out your tortilla on a clean surface. Start by sprinkling about 2 tablespoons of cheese on the lower third of the tortilla. Next, add approximately ⅔ cup of your chicken mixture on top of the cheese, followed by another tablespoon of cheese and a sprinkle of green onion for that fresh crunch.
Now, it's time to fold! Begin by folding in the sides of the tortilla and then roll it up tightly from the bottom. This secures your filling, ensuring every bite is packed with deliciousness.
Cook the wraps to a crunchy perfection
Pre-heat a non-stick pan over medium-high heat and spray it lightly with olive oil. Place your wraps seam-side down in the skillet. Cook each side for about 3–4 minutes until they turn a gorgeous golden brown and crispy. If you cover the pan with a lid, it helps melt the cheese and warms the filling even faster—bonus points for efficiency!
Slice and serve your delicious creation
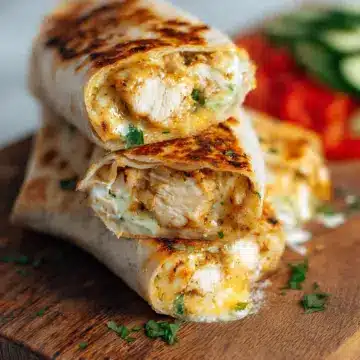
Once your wraps are beautifully browned, remove them from the pan and let them rest for a minute. Then, slice them in half for a beautiful presentation and ease of eating. Serve them with a side of fresh salad or your favorite dipping sauce, such as salsa or creamy dressing.
These cheesy garlic chicken wraps are not just a meal; they are a comforting treat made to impress! Enjoy your culinary masterpiece knowing it’s as good for your taste buds as it is for your healthy lifestyle!

Variations on Cheesy Garlic Chicken Wraps
Spicy-Themed Wraps with Added Heat
If you’re a fan of bold flavors, consider turning your cheesy garlic chicken wraps into a spicy delight! Incorporate jalapeños or chili flakes into the chicken mixture for an extra kick. You might even substitute the regular hot sauce with a chipotle sauce for a smokier flavor. Feel free to experiment with spicy cheeses like pepper jack, which not only melts beautifully but also adds a fantastic bite.
Vegetarian Options Using Other Fillings
Looking to switch things up with a vegetarian twist? Swap the chicken for sautéed mushrooms, grilled zucchini, or roasted chickpeas for a hearty filling. You can still keep that garlicky goodness by mixing in roasted garlic and a creamy yogurt dressing—like this great option from EatingWell. Don’t forget to add your favorite cheese for that melty touch, making these wraps satisfying for everyone!
Cooking Tips and Notes for Cheesy Garlic Chicken Wraps
Making Ahead and Storage Advice
These cheesy garlic chicken wraps are perfect for meal prep! You can prepare the chicken filling up to three days in advance; just store it in the fridge. If you have leftovers, cooked wraps can be refrigerated for two days. To reheat, pop them in a skillet or air fryer for that satisfying crisp again. For longer storage, freeze the filling for up to a month, then use it whenever you need a quick meal!
Enhancing Flavor with Additional Toppings or Spices
Take your cheesy garlic chicken wraps to the next level! Consider adding toppings like sliced avocado, fresh spinach, or even a sprinkle of smoked paprika for a smoky kick. Fresh herbs, like cilantro or parsley, can also brighten up the flavors. Don’t shy away from experimenting with different sauces or salsas to find your favorite combination! For more inspiration, check out Food Network for ideas on tantalizing spice blends and toppings.
Serving Suggestions for Cheesy Garlic Chicken Wraps
Complementary Side Dishes and Dips
To elevate your cheesy garlic chicken wraps, consider pairing them with a vibrant garden salad or some roasted seasonal vegetables. For a delightful crunch, add tortilla chips on the side. Dips are always a hit; a tangy salsa or creamy guacamole makes an excellent accompaniment, adding freshness and flavor.
Creative Ideas for Making It a Full Meal
Want to turn these wraps into a hearty meal? Add some sliced avocado or a sprinkle of crumbled queso for extra creaminess. You could even serve them with a refreshing yogurt-based sauce for dipping. This approach not only enhances the flavors but also adds nutritional value, balancing out your dish. Whether you keep it simple or go all out, these wraps can be the star of your lunch or dinner!
Time Breakdown for Cheesy Garlic Chicken Wraps
Preparation time
Get ready for deliciousness! It only takes about 15 minutes to prep your ingredients and whip together the filling for these cheesy garlic chicken wraps.
Cooking time
In just 7 minutes, you can transform those prepared ingredients into crispy, melty goodness on your stovetop.
Total time
With a swift total of 22 minutes, you'll have a comforting meal that’s perfect for lunch or a quick dinner. Easy and satisfying, these wraps are a must-try for anyone looking to enjoy a quick and hearty bite.
For more by Irena Macri and other deliciousness, check out Cooked and Loved.
Nutritional Facts for Cheesy Garlic Chicken Wraps
Calories and macros at a glance
These cheesy garlic chicken wraps pack a satisfying punch with 476 calories per serving. The macros break down nicely with 38g protein, 19g carbohydrates, and 27g fat—ideal for a filling lunch that won't weigh you down.
Important vitamins and minerals included
Each serving of these wraps offers a host of essential nutrients, including:
- Vitamin A: 543 IU, supporting eye health and immune function
- Calcium: 376 mg, important for strong bones
- Iron: 3 mg, crucial for energy levels and oxygen transport
For more information on the nutritional benefits, check out resources like the Nutritional Science Foundation or the CDC's nutrition page.
These wraps not only deliver on flavor but also provide a well-rounded nutritional profile. Enjoy them guilt-free!
FAQs about Cheesy Garlic Chicken Wraps
Can I bake these wraps instead of frying?
Absolutely! If you prefer a healthier option, you can bake your cheesy garlic chicken wraps. Preheat your oven to 400°F (200°C) and place your wraps on a baking sheet. Bake for 10–12 minutes, flipping once, for a delicious, crispy texture. However, frying or using an air fryer will yield a crispier result, so consider your cooking method based on your texture preference!
How can I store leftover wraps or filling?
To keep your cheesy garlic chicken wraps fresh, store any leftovers in an airtight container in the fridge for up to two days. When reheating, a skillet or air fryer works best to regain that delightful crispness. If you have extra filling, you can freeze it for up to a month—great for quick meals later on!
What are some quick options for side dishes?
These wraps are satisfying on their own but pair wonderfully with a fresh salad or roasted veggies for a more balanced meal. For a quicker option, try serving with chips, pickles, or even a side of fresh salsa. You’ll have a delicious and fulfilling spread in no time!
Conclusion on Cheesy Garlic Chicken Wraps
These cheesy garlic chicken wraps are a must-try for homemade meals! Quick to prepare and full of flavor, they bring comfort food to your kitchen without the hassle. Perfect for lunch or dinner, they’ll quickly become a favorite. Enjoy delightful bites that satisfy your cravings! Need more wrap inspiration? Check out ideas on The Kitchn for more tasty options.
Cheesy Garlic Chicken Wraps
Equipment
- Non-stick Pan
Ingredients
- 2 large tortillas (regular or low-carb/high-protein)
- 7 oz cooked chicken (about 200 grams, chopped) rotisserie is great
- 2 cloves garlic minced or grated (adjust to taste)
- 2 tablespoons light mayonnaise
- 1 tablespoon light Greek yogurt or plain yogurt
- 2 teaspoons hot sauce like Frank’s
- ¼ teaspoon salt
- 3 oz grated cheese (about 90 grams) I used a cheddar blend
- 1 green onion chopped
- Olive oil spray
Instructions
- In a bowl, mix chopped chicken, garlic, mayonnaise, yogurt, hot sauce, and salt.
- Lay out your wrap. On the lower third of the tortilla, sprinkle about 2 tablespoons of cheese, then top with about ⅔ cup of the chicken mixture. Add another tablespoon of cheese and a sprinkle of green onion.
- Fold in the sides of the tortilla, then roll it up tightly from the bottom.
- Heat a non-stick pan over medium-high. Spray with olive oil.
- Place wraps seam-side down. Cook for 3–4 minutes per side until crispy and golden. Cover with a lid to help heat the inside.
- Slice in half and serve!


Leave a Reply