
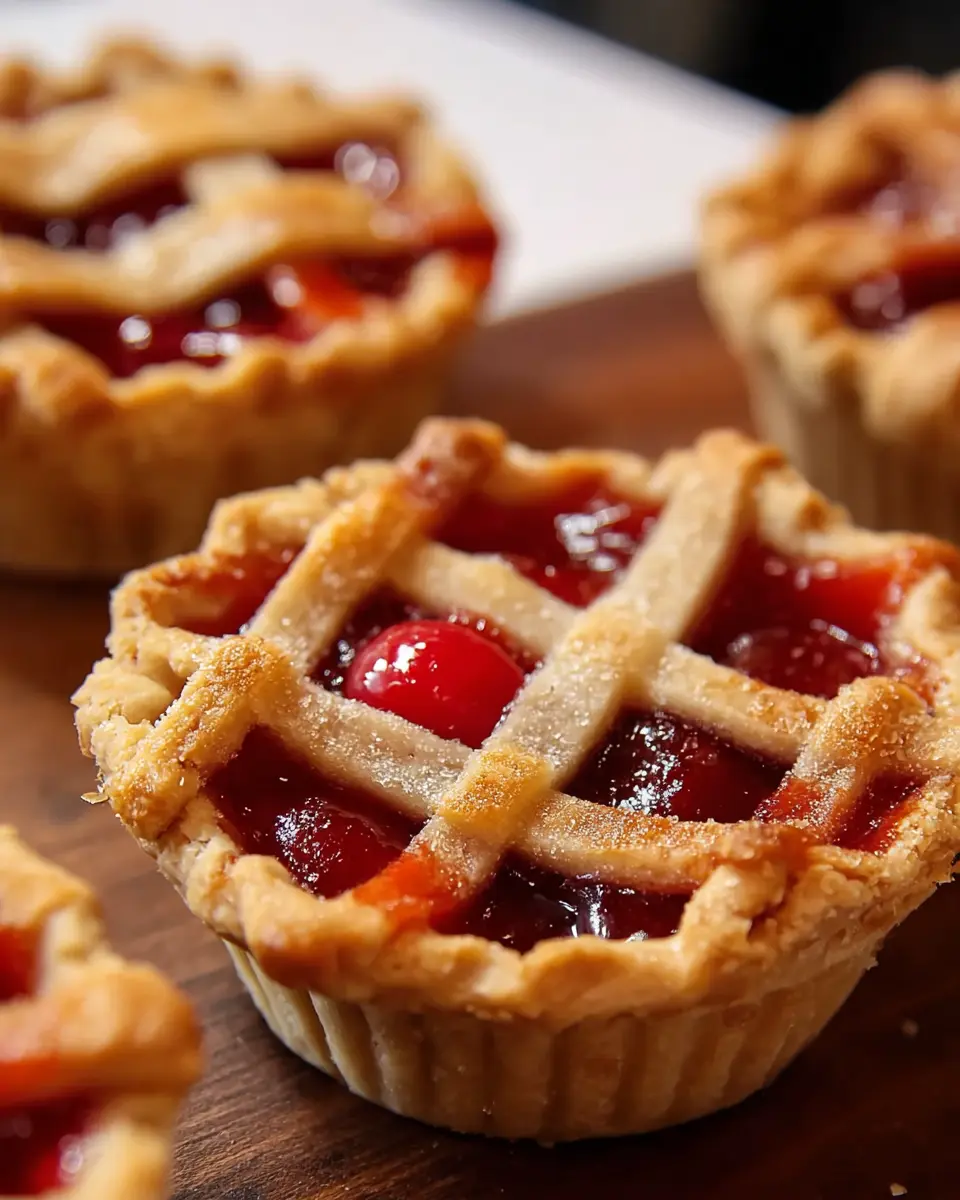
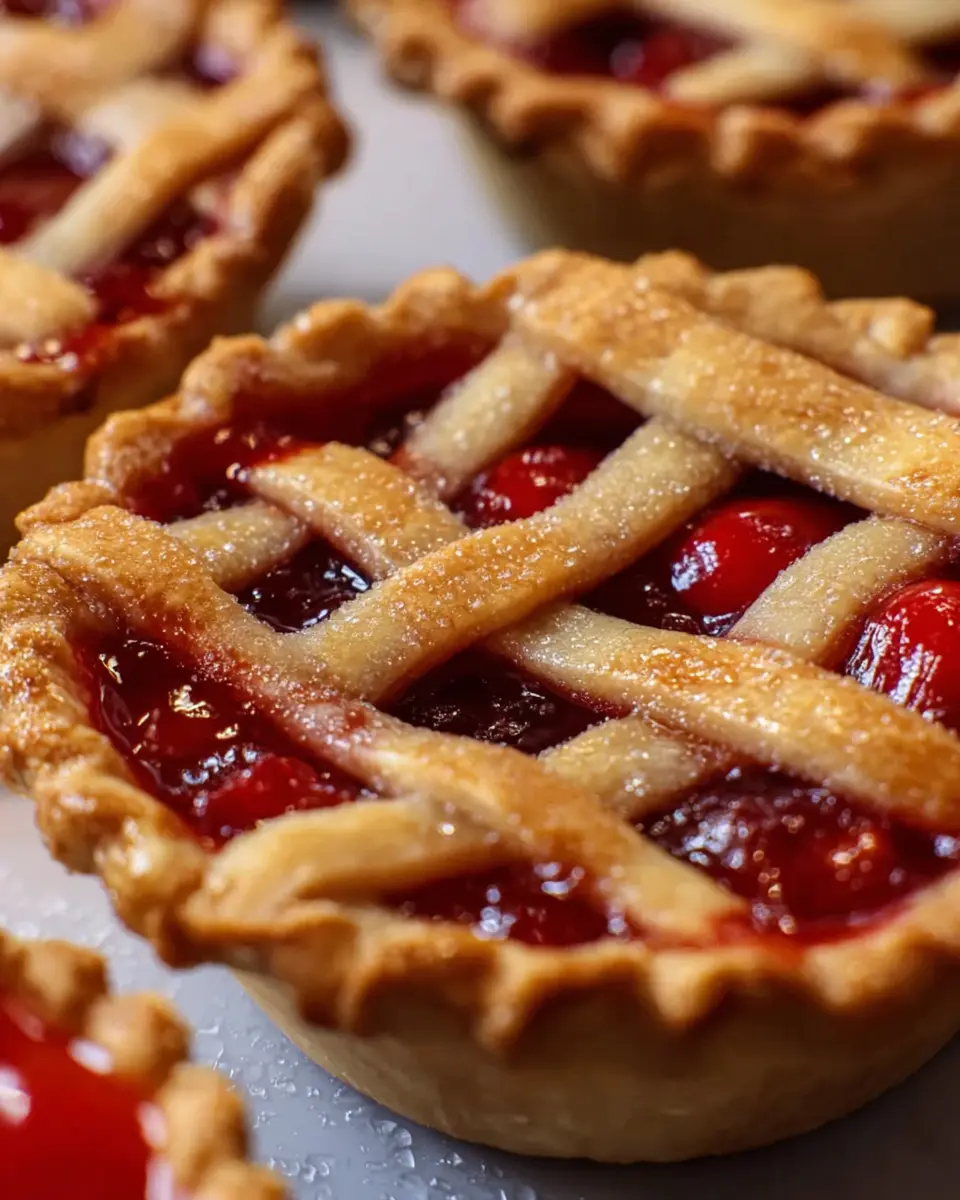
Introduction to Cherry Pie Filling
When it comes to desserts, there’s something truly special about homemade cherry pie filling. The delightful tang of tart cherries combined with a sweet, rich syrup creates a nostalgic experience that transports us straight to family gatherings or summer picnics. So why should you opt for homemade, you ask?
Why homemade cherry pie filling is a game changer
First off, it allows you to control the ingredients. Store-bought varieties can be loaded with preservatives and artificial flavors, but with just three simple ingredients—cherries, sugar, and cornstarch—you get a pure and wholesome filling that tastes like sunshine. Not to mention, making your own filling gives you the opportunity to adjust the sweetness to suit your palate, ensuring it’s just perfect for your pie.
Using either fresh or frozen tart cherries can significantly elevate your dessert game. The process is quick too; it takes about 40 minutes total, and you’ll end up with a generous 4 cups of cherry goodness. Imagine the possibilities: piles of cherry pie, spoonfuls over vanilla ice cream, or even enhancing your breakfast yogurt.
Before diving into your cherry pie adventure, consider checking out The Cherry Marketing Institute for tips on selecting the best cherries for your filling! With homemade cherry pie filling, you’re not just baking—you’re crafting tradition.
Ingredients for Cherry Pie Filling
Creating the perfect cherry pie filling is all about the right ingredients. Here's what you'll need for a deliciously sweet and tart flavor that will make your pie a delightful treat.
Essential Ingredients for a Delicious Filling
-
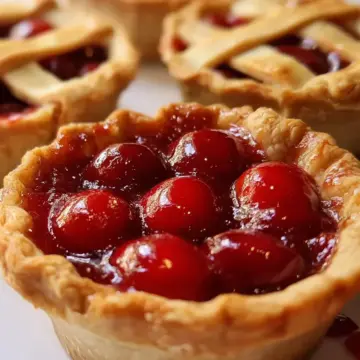
Tart Red Cherries (4 cups): Whether you opt for fresh or frozen, tart cherries are the stars of your filling. They offer that signature balance of sweetness and acidity, making each bite irresistible. If you're unsure about sourcing, check your local farmers' markets or look for high-quality frozen options here.
-
White Sugar (1 cup): This will not only sweeten your cherries but also help to enhance their natural flavor. Adjust the sugar to your taste—some prefer a bit less if the cherries are particularly sweet.
-
Cornstarch (¼ cup): A thickening agent that gives the filling its desired consistency. When combined with the juices from the cherries, it creates that luscious texture we all love in a pie.
This trio of ingredients serves as the foundation for your cherry pie filling, ensuring a delightful burst of flavor in every slice. Don’t forget to keep your filling chilled until you're ready to use it—this will help maintain that perfect texture. Happy baking!
Preparing Cherry Pie Filling
Creating your own cherry pie filling is a delightful way to elevate your baking game. Whether you opt for fresh or frozen tart cherries, the process is straightforward and rewarding. Let’s walk through the key steps to prepare a luscious cherry pie filling that will have everyone asking for seconds.
Gather Your Ingredients
Before diving in, it's essential to have everything ready. For this recipe, you’ll need:
- 4 cups pitted tart red cherries: Fresh or frozen will work beautifully.
- 1 cup white sugar: This will sweeten the tartness of the cherries.
- ¼ cup cornstarch: This ingredient will help thicken your filling to the perfect consistency.
Make sure you have these in your kitchen—trust me, nothing beats the satisfaction of using quality ingredients in your homemade treats!
Cook the Cherries to Release Their Flavors
Start by placing your cherries in a medium saucepan over medium heat. Cover them and cook, stirring often, until they release their juices and come to a gentle simmer. This usually takes about 10 to 15 minutes. As they cook, you’ll notice how the sweet-tart aroma fills your kitchen—there’s nothing quite like it!
If you’d like to explore more cherry varieties and their uses, check out this guide on cherry types.
Combine Sugar and Cornstarch
While the cherries are simmering, it's time to prepare the thickening agent for your cherry pie filling. In a separate bowl, whisk together the white sugar and cornstarch until they are well combined. This step is crucial, as it ensures that your filling will achieve that perfect, clump-free consistency when mixed with the hot cherries.
Thicken the Filling on the Stove
Once your cherries are simmering and fragrant, pour the sugar and cornstarch mixture into the hot cherries and juice. Stir until everything is thoroughly combined. Then, bring the mixture back to a low simmer. Cook for about 2 minutes, or until you see that it has thickened nicely. This is where your patience pays off—the result will be a glossy and sumptuous filling that clings beautifully to your pie crust.
Cool Before Using
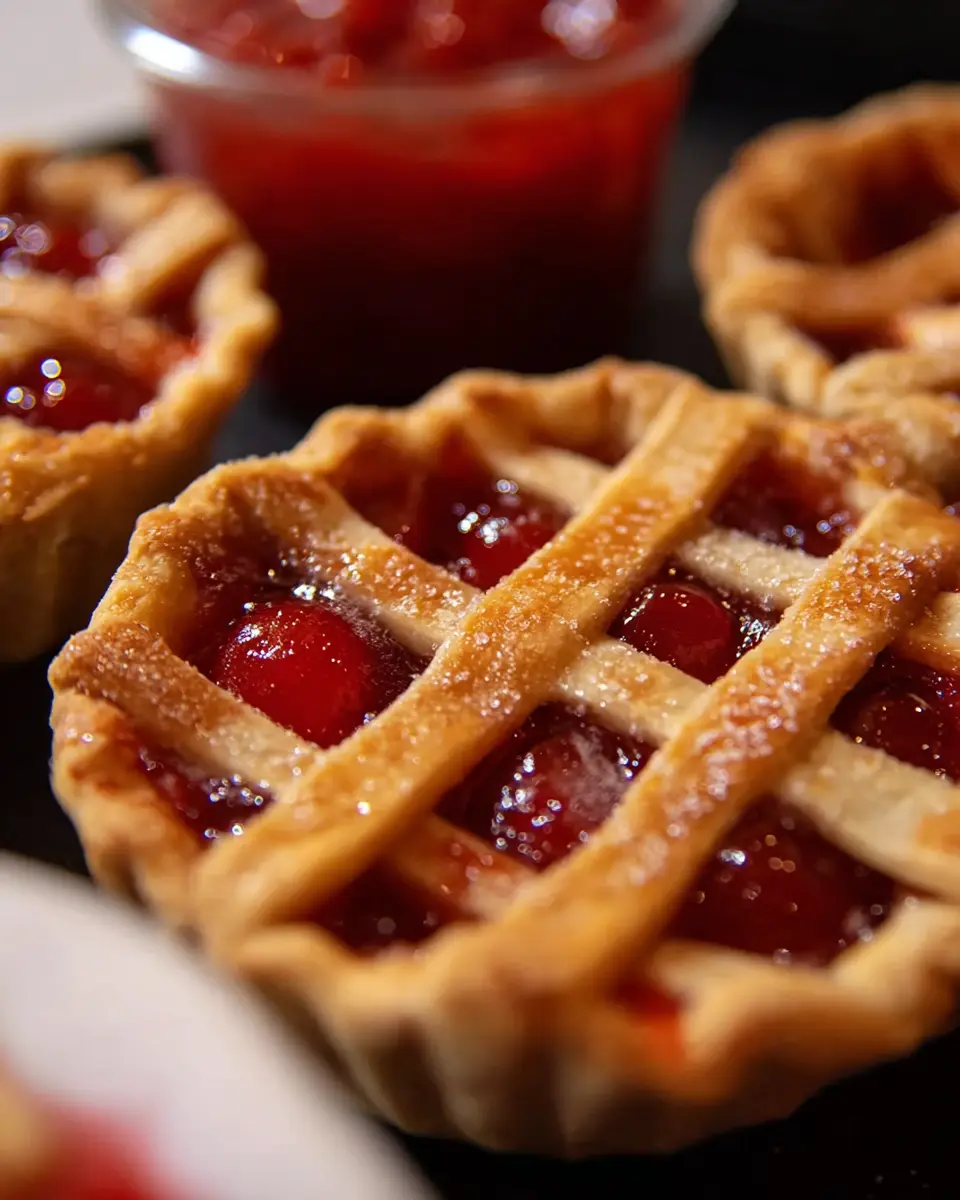
After thickening, it's crucial to let the filling cool off. This will not only prevent burns but also allow the flavors to meld. Once cooled, you can use it immediately in your favorite pie recipe, or transfer it to a container for later use. Homemade cherry pie filling can be stored in the refrigerator for up to a week, or even frozen for future baking adventures!
By mastering these straightforward steps, you’ll find that preparing cherry pie filling isn’t just an easy task—it’s an enjoyable process that leads to delightful dessert creations for you and your loved ones. Happy baking!
Variations on Cherry Pie Filling
Use Fresh Cherries for a Seasonal Twist
Nothing says summer quite like ripe, sweet cherries! If you have access to fresh cherries, consider using them for your cherry pie filling. Not only does this enhance the flavor, but it also provides a vibrant, juicy texture that frozen cherries may lack. Simply wash and pit the cherries, then follow the same cooking instructions. Your homemade pie will not only taste better, but it will also celebrate the season's bounty.
Create a Mixed Berry Cherry Filling
For a delightful twist, try blending cherries with other berries. Combine tart cherries with strawberries, blueberries, or raspberries to create a mixed berry cherry pie filling bursting with flavor. This medley adds complexity and depth to your pie and makes for a colorful presentation. Just remember to adjust the sugar based on the sweetness of the berries; you want a balanced, delicious filling that everyone will enjoy!
For more tips on pie filling variations, check out The Joy of Baking or America's Test Kitchen.
Cooking tips and notes for Cherry Pie Filling
The importance of pitting cherries properly
Pitting cherries might seem like a tedious task, but it’s crucial for a smooth cherry pie filling. Using a cherry pitter is the easiest way to ensure you remove every pit, allowing the flavors to meld beautifully. If you don’t have one, a small knife will work too. Just remember to focus on getting the pits out, as biting into one can ruin the dessert experience—nobody wants a surprise crunch in their cherry pie!
How to achieve the ideal thickness
Getting the right consistency in your cherry pie filling is key to a perfect pie. This is where cornstarch comes into play. Be sure to whisk it with the sugar before adding it to the hot fruit; this helps prevent clumping. If you prefer a thicker filling, simply add a bit more cornstarch or let the mixture simmer a few extra minutes. For additional tips on thickening, check out the resources at Bon Appétit and Serious Eats for expert advice.
Happy baking!
Serving suggestions for Cherry Pie Filling
Pairing with ice cream
One of the best ways to enjoy cherry pie filling is by serving it warm over a scoop of vanilla ice cream. The rich, tart flavor of the cherries complements the creamy sweetness of the ice cream beautifully, creating a delightful contrast. You can also try it with flavors like almond or cinnamon for an extra twist. A sprinkle of chopped nuts on top adds a satisfying crunch!
Using as a topping for pancakes or waffles
Elevate your breakfast game by drizzling cherry pie filling over pancakes or waffles. This not only adds a pop of color but also infuses your meal with a burst of fruity goodness. For a gourmet touch, whip up some fresh cream or yogurt to dollop alongside it. It's a deliciously easy way to make any morning feel special!
Time Details for Cherry Pie Filling
Preparation Time
Making your own cherry pie filling is a breeze, taking just 25 minutes to gather and prepare your ingredients. From pitting cherries to measuring sugar, this step is all about getting your workspace ready for that delicious filling.
Cooking Time
Once you're prepped, it takes around 15 minutes to cook up the filling. Just let the cherries simmer and meld with the sugar and cornstarch until thickened—so simple!
Total Time
In just 40 minutes, you’ll have a rich, homemade cherry pie filling ready for your favorite pie crust. Perfect for sweetening up a weeknight dessert or impressing guests at your next gathering!
For more tips on crafting the perfect pie, check out the American Pie Council’s resources. It's a cherry enthusiast’s dream!
Nutritional information for Cherry Pie Filling
Calories per serving
Each serving of this delightful cherry pie filling contains approximately 219 calories, making it a reasonably guilt-free addition to your dessert table. This dessert is not just tasty, but can also fit into various dietary preferences when enjoyed in moderation.
Key nutrients in cherry filling
Beyond being a sweet treat, cherry pie filling is rich in essential nutrients. Each serving offers:
- Total Fat: 1g
- Sodium: 1mg
- Total Carbohydrates: 54g
- Dietary Fiber: 2g
- Sugars: 47g
- Protein: 1g
- Vitamin C: 7mg
- Calcium: 15mg
- Iron: 0mg
- Potassium: 217mg
These nutrients contribute to a well-rounded dessert, and the potassium and vitamin C content can support overall health. For a deeper dive into the benefits of cherries, check out this article from the USDA. By choosing homemade cherry pie filling, you can control the ingredients and ensure a more wholesome treat for your loved ones!
FAQs about Cherry Pie Filling
Can I use frozen cherries instead of fresh?
Absolutely! Frozen cherries are a fantastic alternative to fresh ones for your cherry pie filling. They’re often picked at peak ripeness and flash-frozen, so you won't lose any of that delicious flavor. Just remember to thaw them and drain excess liquid before adding them to your mixture to avoid a watery filling.
How long can I store homemade cherry pie filling?
You can store your homemade cherry pie filling in an airtight container in the refrigerator for up to a week. If you want to keep it longer, consider freezing it! Properly stored in the freezer, it can last for about 6–12 months. Just thaw it in the fridge overnight before using, and it’ll taste just as fresh.
What are some ways to enhance the flavor?
Elevate your cherry pie filling by adding a splash of almond extract or a sprinkle of cinnamon for warmth. Fresh lemon juice can also brighten the flavors, making it even more delicious. Consider experimenting with additions like vanilla or even some grated nutmeg for an unexpected twist! Looking for more inspiration? Check out this flavor enhancement guide for creative ideas.
Conclusion on Cherry Pie Filling
Embracing homemade for delicious desserts
Crafting your own cherry pie filling allows you to control the ingredients and celebrate the flavors of fresh or frozen cherries. As you experiment with this simple recipe, remember that nothing beats the satisfaction of sharing homemade desserts with loved ones. Enjoy the sweet rewards of your labor!
Cherry Pie Filling
Equipment
- saucepan
Ingredients
- 4 cups pitted tart red cherries
- 1 cup white sugar
- ¼ cup cornstarch
Instructions
- Gather the ingredients.
- Place cherries into a saucepan over medium heat. Cover and cook, stirring often, until cherries release their juices and come to a simmer, 10 to 15 minutes.
- Whisk sugar with cornstarch in a bowl until combined; pour mixture into hot cherries and juice. Stir until thoroughly combined.
- Bring to a simmer over low heat; cook until thickened, about 2 minutes. Remove from heat and let cool before using as pie filling.

Leave a Reply