
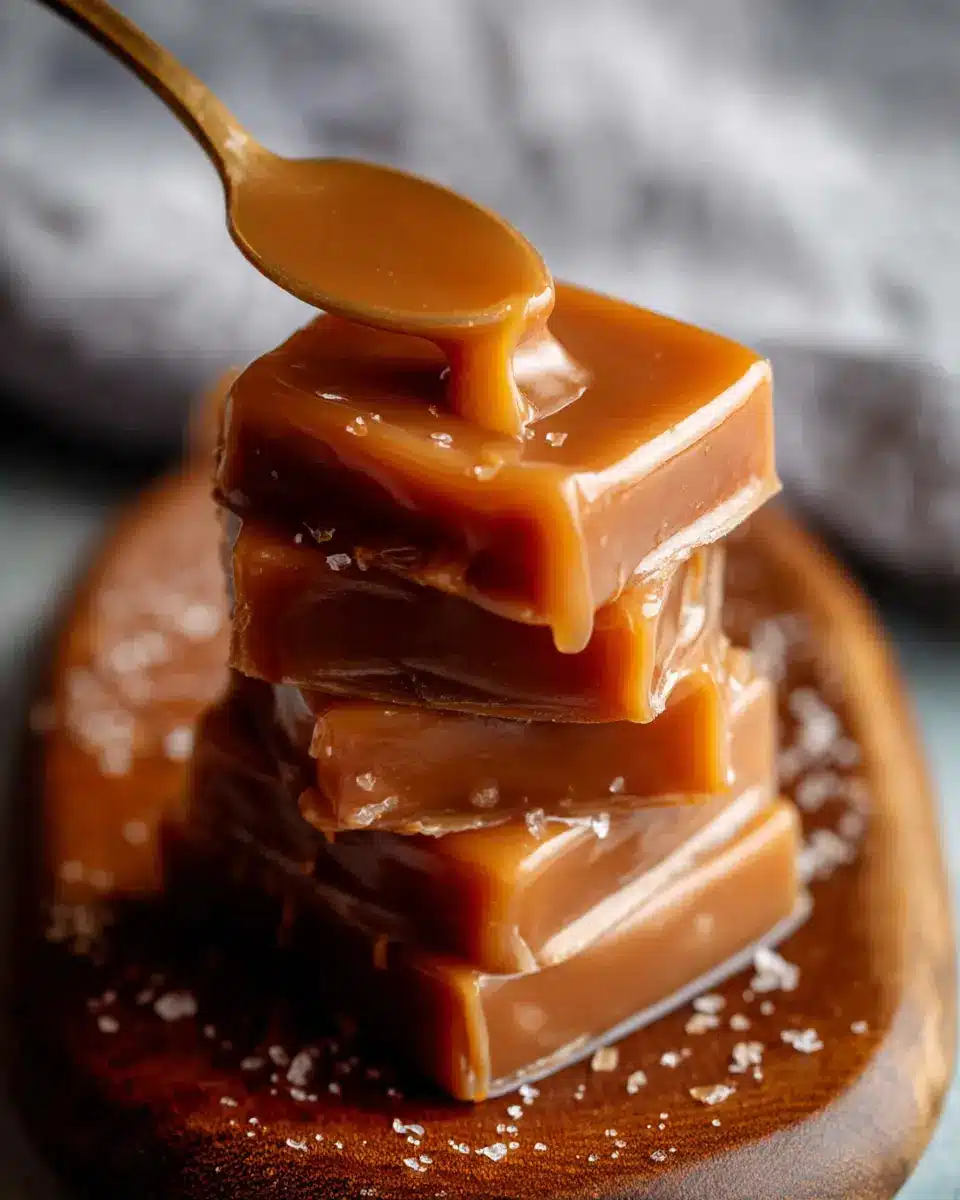
Why is homemade salted caramel a game-changer?
If you’ve ever tasted good salted caramel, you know it’s a flavor experience that blends sweetness with a savory twist, creating a delightful balance. But why settle for store-bought when you can whip up your own homemade salted caramel recipe?
Making caramel at home is not just about taste—it's a fulfilling and rewarding experience. You control the ingredients, ensuring it's free from preservatives and artificial flavors. Plus, it requires only four simple components: sugar, butter, heavy cream, and salt. The process is straightforward and can be completed in just 20 minutes, perfect for the busy lifestyle of young professionals.
One of the best parts? This caramel is incredibly versatile. Use it as a topping for ice cream, drizzle it over pancakes, or incorporate it into your baking. It elevates your desserts, making an ordinary treat feel gourmet.
And let’s not forget the thrill of standing in your kitchen, expertly whisking together those bubbling ingredients as the delicious aroma fills your home. It’s an impressive addition to your culinary repertoire, guaranteed to impress friends and family alike. So, grab your ingredients and get ready to create something truly special!
For more ideas on how to use your homemade caramel, check out this sweet guide.
Ingredients for Homemade Salted Caramel
Simple ingredients you need
Creating your own Homemade Salted Caramel is surprisingly easy with just four key ingredients:
- Granulated Sugar: 1 cup (200g), ideally “pure cane” for the best flavor.
- Unsalted Butter: 6 tablespoons (85g), cut into pieces to ensure smooth mixing.
- Heavy Cream: ½ cup (120g/ml); make sure it's at room temperature to avoid shocking the mixture.
- Salt: Just 1 teaspoon can elevate the flavor to perfection. Use kosher or table salt—your choice!
Having these essentials on hand transforms a simple treat into an epic dessert experience.
Why ingredient quality matters
Opting for high-quality ingredients can truly change the game. For instance, using pure cane sugar enhances the caramel's taste and texture, ensuring a deeper flavor profile. Similarly, fresh unsalted butter contributes to that luscious, buttery texture that we all adore. According to Cook's Illustrated, the quality of butter can significantly affect the final results of your caramel sauce. So, when you invest in good ingredients, you're investing in the quality and taste of your homemade creation. Trust us; it’s worth it!
Step-by-step Preparation of Homemade Salted Caramel
Creating your own homemade salted caramel is easier than you might think! Just follow these simple steps, and you'll have a delightful treat that will elevate any dish—from desserts to sauces. Let’s dive into the delicious process!
Gather your tools and ingredients
Before you start cooking, gather all your necessary tools and ingredients. This preparation ensures a smooth cooking experience. Here’s what you’ll need:
-
Tools:
-
Medium heavy-duty stainless steel saucepan (avoid nonstick)
-
Wooden spoon or heat-safe silicone spatula
-
Measuring cups and spoons
-
Candy thermometer (optional)
-
Ingredients:
-
1 cup (200g) granulated sugar
-
6 Tablespoons (85g) unsalted butter, cut into 6 pieces
-
½ cup (120g/ml) heavy cream, ideally at room temperature
-
1 teaspoon salt
When grabbing your ingredients, make sure to look for “pure cane” sugar on the label for the best results.
Melt the sugar to golden perfection
In your medium saucepan, heat the sugar over medium heat, stirring constantly. The sugar will begin to clump before it melts into a beautiful amber liquid—this is the magic of caramelization! Keep stirring, especially around the edges, to prevent burning. This should take about 5-7 minutes, depending on your stove. Experts suggest watching the color carefully—it should resemble a warm sunset.
Incorporate the butter (watch out for splatter!)
Once your sugar has melted, reduce the heat and gently add the butter. Do this slowly to avoid any crazy splatter! The mixture will bubble up as the butter merges with the syrup. For those worried about potential mess, wearing kitchen gloves can be a smart move. Stir constantly until the butter is fully melted and incorporated. If you notice the mixture separating, remove it from the heat and whisk until it comes back together.
Slowly add the heavy cream
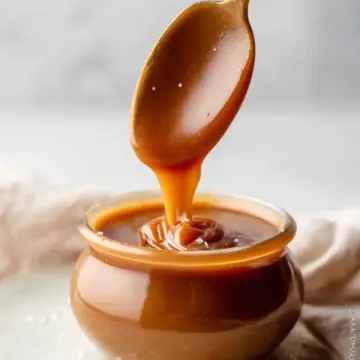
Time to introduce the heavy cream! Pour it in slowly while continuously stirring. You’ll see lots of bubbling and steaming—this is normal, as the cold cream reacts to the hot caramel. Allow the mixture to boil for about a minute. If you have a candy thermometer, aim for a temperature of 220°F (104°C) for that perfect consistency.
Stir in salt and let it cool
After boiling, take the pan off the heat and stir in the salt. At this point, your homemade salted caramel will still be quite thin, but don’t worry! It thickens as it cools. Let it sit for a few minutes to reach the desired thickness before using or storing it.
With these steps in mind, you’re well on your way to making a delightful caramel treat that can add flair to countless dishes. Whether drizzling over ice cream or pairing with brownies, your homemade salted caramel is sure to impress! For more great dessert ideas, consider exploring recipes from sites like BBC Good Food for inspiration. Happy caramel-making!
Variations on Homemade Salted Caramel
Chocolate Salted Caramel
If you're a chocolate lover, consider turning your Homemade Salted Caramel Recipe into a decadent chocolate version! Simply stir in ½ cup of high-quality cocoa powder into the melted sugar before adding the butter. This rich twist not only enhances the flavor but also adds a delightful depth that pairs beautifully with the salty notes. Drizzle it over ice cream, or use it in baked goods for a luscious surprise in every bite.
Spiced Salted Caramel
For a warm, festive touch, try spicing up your caramel! Add a pinch of ground cinnamon or nutmeg while cooking the sugar for a cozy flavor profile. You can even experiment with chili powder for a surprising kick. This spiced Homemade Salted Caramel Recipe pairs perfectly with sweet treats like cakes and pies or even drizzled over roasted fruits. Just imagine tasting that first bite—sweet, salty, and warmly spiced!
Explore more variations and ideas to elevate your caramel game; you’ll find that versatility is its charm!
Cooking Tips and Notes for Homemade Salted Caramel
Avoiding Common Mistakes
To perfect this Homemade Salted Caramel Recipe, avoid the temptation to walk away while the sugar is melting. Sugar can quickly go from golden brown to burnt, ruining your batch. Stir constantly and keep your heat manageable—medium is usually best. If the butter begins to separate after adding it, take the pan off the heat and whisk vigorously until it comes together. Remember, practice makes perfect!
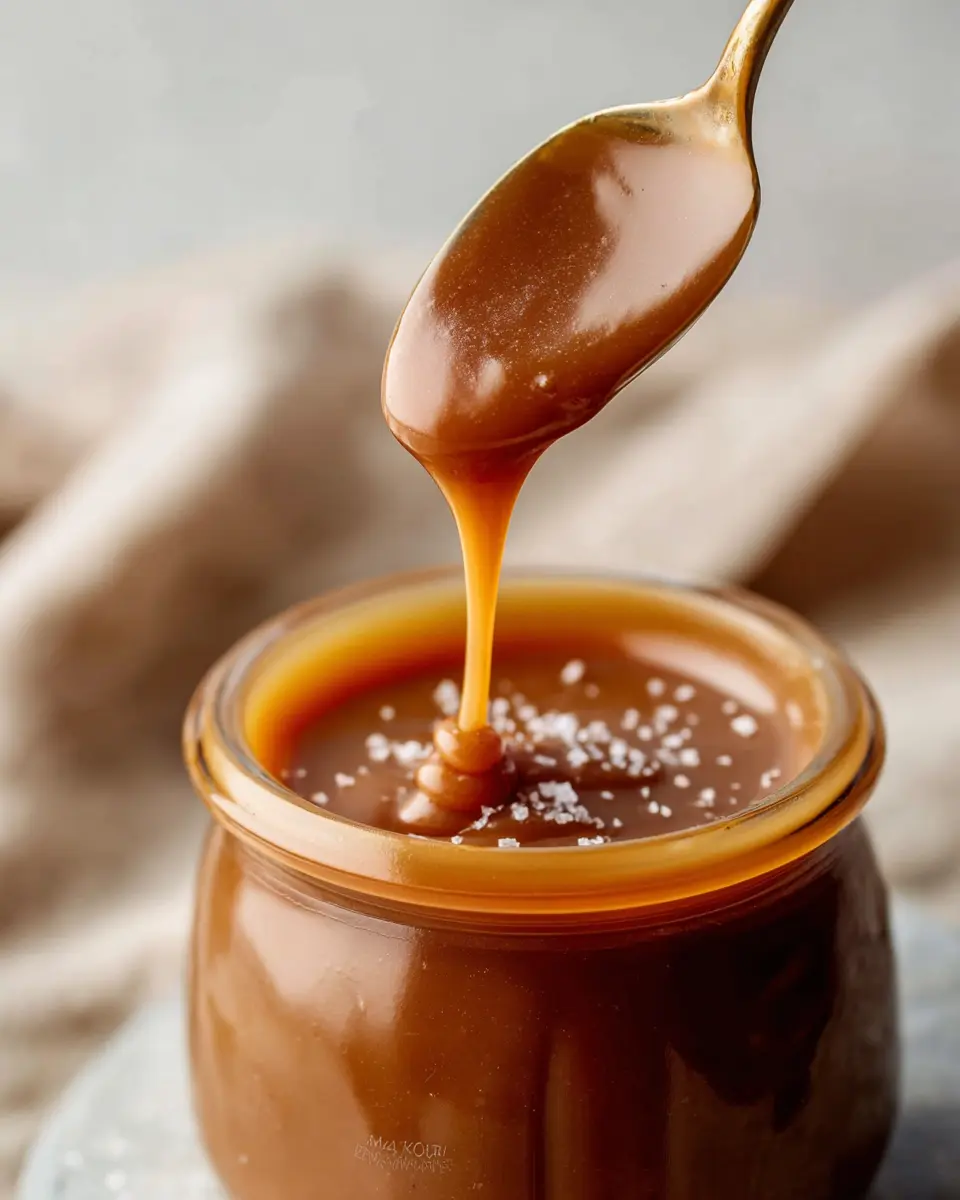
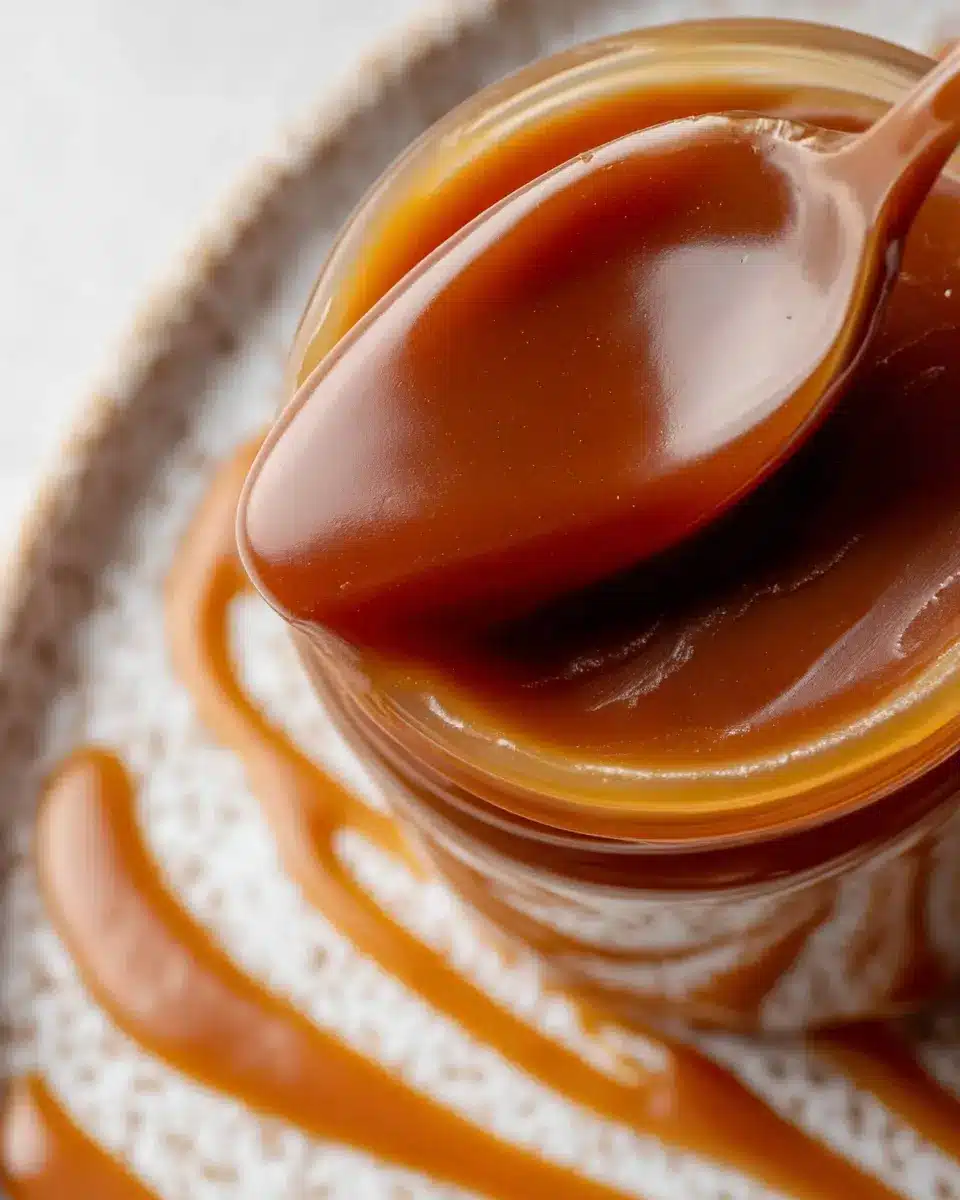
Storing and Reheating Tips
Store your delicious caramel in an airtight container in the refrigerator for up to one month. It will firm up, but don’t worry! Just reheat it gently in the microwave or on the stove, adding a splash of heavy cream if it’s too thick. Not only does this caramel work as a topping for desserts, but it's also perfect for drizzling on a warm slice of apple pie or in your morning coffee. For more caramel inspiration, check out Sally’s Baking Addiction.
Serving Suggestions for Homemade Salted Caramel
Delicious pairings for dessert lovers
When you whip up this Homemade Salted Caramel Recipe, you open the door to delightful dessert pairings! Drizzle it over:
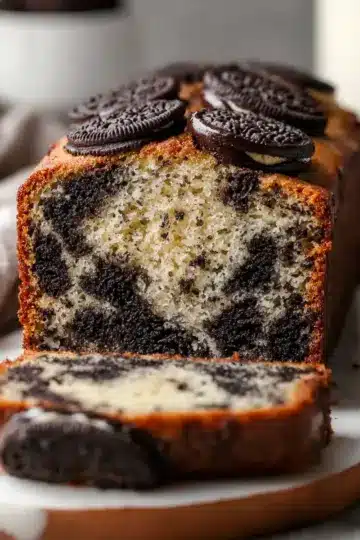
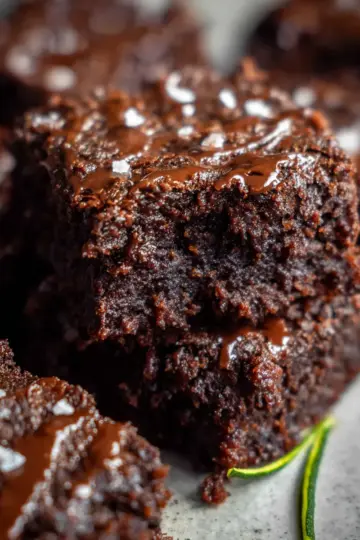
- Brownies: Add a gooey layer of caramel on top or mix it in for a rich flavor.
- Ice Cream: Vanilla or chocolate ice cream becomes a gourmet treat with a luscious salted caramel topping.
- Apple Pie: Elevate your classic dessert with a warm caramel drizzle to complement the spices.
Creative ways to use caramel in recipes
Don’t stop at toppings—get creative with your homemade caramel! Try it in:
- Cakes: Incorporate salted caramel into the frosting for added depth.
- Cheesecakes: Swirl it into the batter before baking for a sweet surprise.
- Coffee Drinks: Stir a spoonful into your morning coffee for a delightful twist.
These suggestions will surely tempt your taste buds and impress your guests. For more inspiration, check out Sally’s Baking Addiction for fun ways to use caramel!
Time Breakdown for Homemade Salted Caramel
Preparation time
5 minutes is all you need to get your ingredients ready and prepped for an indulgent treat you're sure to love. While you're gathering those simple ingredients, you can even daydream about how delicious this salted caramel will be!
Cooking time
The magic happens in just 15 minutes of cooking. It’s a quick process, but keep an eye on your caramel as it transforms from sugar to golden goodness! Stirring constantly will help you achieve that perfect texture.
Total time
In only 20 minutes, you'll have homemade salted caramel that’s ready to elevate your desserts or be enjoyed by the spoonful. It’s a speedy yet rewarding endeavor, perfect for any baking enthusiast!
For precise timings and additional tips, you might also want to check out Sally's Baking Addiction where this fabulous Homemade Salted Caramel Recipe resides!
Nutritional Facts for Homemade Salted Caramel
Calories
A typical serving of this Homemade Salted Caramel Recipe contains approximately 110 calories. If you’re looking to indulge a little, remember that a drizzle can go a long way!
Sugar Content
With around 15 grams of sugar per serving, this caramel sauce satisfies your sweet tooth. It's important to keep track of sugar intake, so enjoy in moderation!
Fat Content
Each serving packs about 6 grams of fat, primarily from the unsalted butter and heavy cream. These ingredients give the caramel its rich, buttery flavor, making every bite worthwhile.
For more details on the health aspects of sugar and fat, check out the USDA's dietary guidelines, which provide insights on maintaining a balanced diet. Enjoy your homemade salted caramel responsibly!
FAQs about Homemade Salted Caramel
Can I double this recipe?
While the Homemade Salted Caramel Recipe yields a delicious cup of caramel, I wouldn’t recommend doubling it. When you increase the volume, it can throw off the melting process of the sugar, resulting in uneven texture. Instead, whip up multiple batches for more caramel goodness!
How long can I store homemade salted caramel?
Your homemade caramel is a keeper! Store it tightly covered in the refrigerator for up to one month. It will solidify a bit in the fridge, so feel free to rewarm it whenever you need to use it.
What’s the best way to reheat caramel sauce?
To reheat, pop the caramel in the microwave in short bursts, stirring in between to ensure even heat. Alternatively, you can warm it on the stove over low heat, stirring gently until it reaches your desired consistency. Just remember, patience is key!
If you have more questions about the Homemade Salted Caramel Recipe, feel free to reach out. Happy caramel-making!
Conclusion on Homemade Salted Caramel
In summary, this Homemade Salted Caramel Recipe is a delightful treat that anyone can master with just a bit of patience. The rich, buttery flavor with a hint of salt elevates desserts and snacks alike. Whether you’re drizzling it over ice cream or enjoying it straight from the jar, this caramel is sure to impress. Don’t forget to share your creations and explore variations, too!
Homemade Salted Caramel Recipe
Equipment
- Medium Heavy-Duty Saucepan
- wooden spoon
- Candy Thermometer (optional)
Ingredients
Base Ingredients
- 1 cup granulated sugar make sure it’s labeled “pure cane”
- 6 Tablespoons unsalted butter at room temperature and cut into 6 pieces
- ½ cup heavy cream at room temperature
- 1 teaspoon salt
Instructions
Cooking Instructions
- In a medium heavy-duty stainless steel saucepan over medium heat, cook the sugar, stirring constantly with a wooden spoon or heat-safe silicone spatula until melted.
- Once the sugar is melted, reduce heat to low and stir in the butter carefully. Cook and stir until the butter is melted and combined.
- Very slowly pour in the heavy cream while stirring constantly. Let it boil for 1 minute without stirring.
- Remove from heat and stir in the salt, then allow to cool slightly and thicken before using.
- Cover tightly and store in the refrigerator for up to 1 month. Reheat to desired consistency before using.


Leave a Reply