
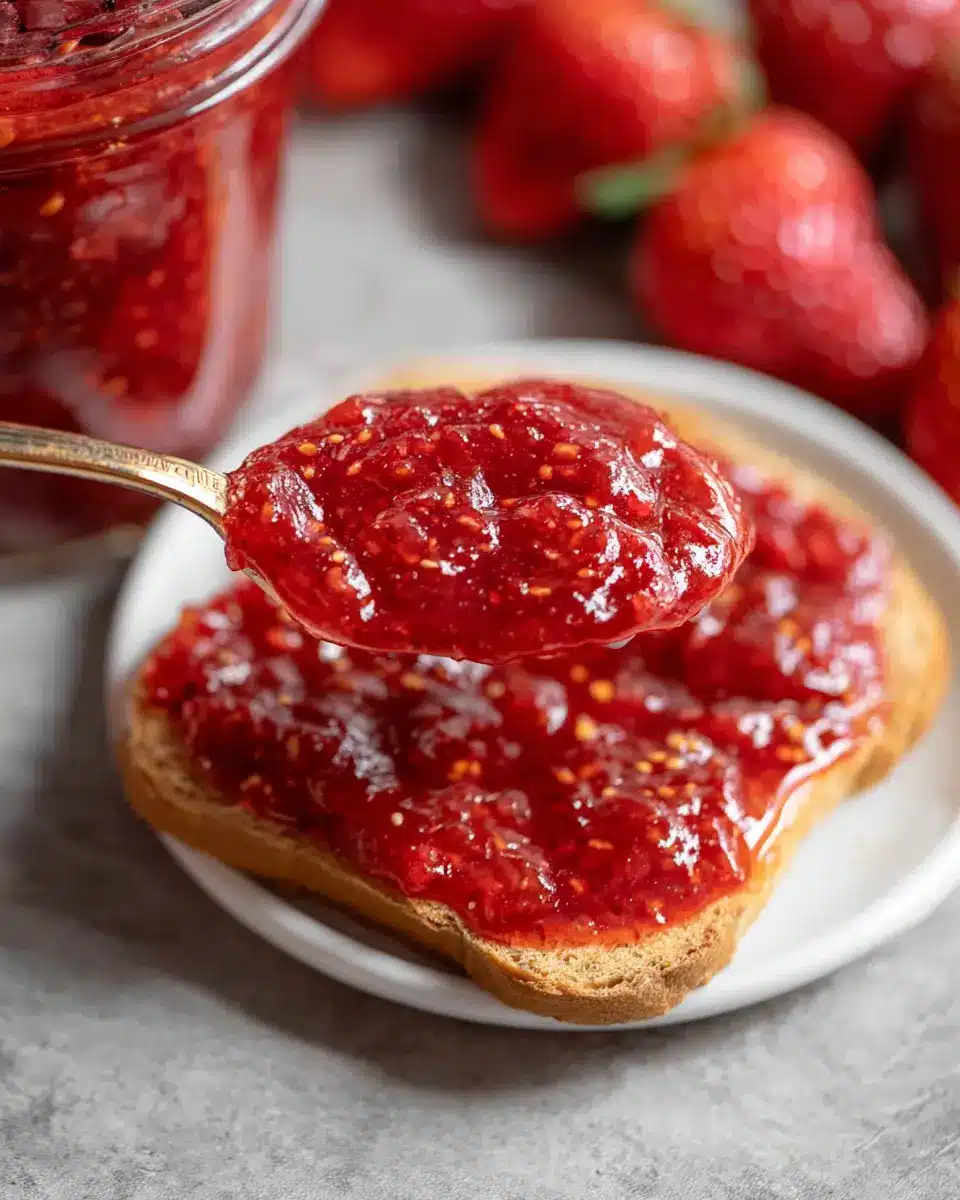
Introduction to Homemade Low Sugar Strawberry Jam
Making your own homemade low sugar strawberry jam isn’t just about creating something delicious—it’s an opportunity to craft a healthier alternative to store-bought options that often contain excessive sugars and preservatives. With just a few ingredients and a little time, you can whip up a batch that captures the essence of summer, allowing you to savor that fresh strawberry flavor year-round.
Why should you choose to make your own jam? For starters, it gives you complete control over what goes into it. You can use fresh, ripe strawberries, adjust the sugar to suit your taste, and even incorporate unique flavors like vanilla or mint if you're feeling adventurous. Additionally, making jam at home can be more economical; in peak season, strawberries are often cheaper, meaning you can save money while enjoying a delightful spread.
Furthermore, homemade jam makes a wonderful gift! Who wouldn’t appreciate a jar of sweet, summery goodness, packaged beautifully? So gather your ingredients, unleash your creativity, and transform your kitchen into a cozy jam-making paradise. You'll be amazed at how easy—and satisfying—it is to make your very own low sugar strawberry jam. If you’re ready to get started, check out the full recipe below!
Ingredients for Homemade Low Sugar Strawberry Jam
Making your own homemade low sugar strawberry jam is an enjoyable and rewarding experience, especially when you know exactly what's going into it. You’ll need just a few fresh ingredients to create this subtly sweet treat.
Fresh and Flavorful Strawberries
- 8 cups crushed strawberries: The star of the show! Choose ripe, juicy strawberries for the best flavor and color. If you can, go local! Fresh strawberries really do make a difference.
Zesty Lemon Goodness
- 1 tablespoon fresh lemon juice: Not only does lemon juice enhance the flavor, but it also helps balance the sweetness and adds a lovely brightness to the jam.
Key Ingredients for Texture
- ¼ cup water: This helps dissolve the pectin and creates a smooth consistency.
- 6 tablespoons Ball Low or No-Sugar Needed Pectin: This special pectin sets the jam without relying on tons of sugar.
A Touch of Sweetness
- 1 cup granulated sugar: We’re keeping the sugar low compared to traditional recipes, but it’s essential for balancing the flavors and helping the jam to gel.
Jarring Up
- 8 half-pint mason jars: Use these to store your delicious creation. Be sure they’re well-sanitized for perfect preservation!
So, gather these ingredients, and let’s get cooking! You'll soon have a delightful strawberry jam that you can savor or gift to friends. For step-by-step guidance, check out the full recipe here.
Step-by-Step Preparation for Homemade Low Sugar Strawberry Jam
Making your own homemade low sugar strawberry jam might feel daunting, but it's surprisingly easy—and rewarding! This delightful spread is perfect for your breakfast toast or as a topping for desserts. Let’s dive into the preparation process, step by step.
Gather Your Equipment
To get started, it’s essential to have the right equipment at hand. Here’s a list of what you’ll need:
- A canning pot for boiling
- Canning tools such as a jar lifter, funnel, and ladle
- Half-pint mason jars (8 in total)
Having everything organized will help you feel prepared and confident as you embark on this culinary adventure!
Sanitize and Prepare the Jars
Before making your jam, you need to ensure that your jars are properly sanitized. This is crucial to prevent any unwanted bacteria from spoiling your delicious jam. Here’s how to do it:
- Boil the jars in a water bath for about ten minutes.
- Carefully remove them using tongs and set them aside to allow them to warm up. This step not only sanitizes the jars but also prepares them for the hot jam.
Wash and Crush the Strawberries
Fresh strawberries are the star of the show! Rinse them thoroughly to remove any dirt. Remove the stems and hulls, then it’s time to get crushing:
- You can either use a food mill, a hand potato masher, or even a blender if you prefer a smoother texture. For a jelly-like consistency, strain the blended strawberries to remove seeds and pulp.
Combine Ingredients in the Stock Pot
Now, combine your crushed strawberries with other ingredients in a large stock pot:
- Add water and fresh lemon juice to enhance the flavor.
- Stir in pectin, and heat the mixture over high heat until it reaches a rolling boil that cannot be stirred down. Remember to keep stirring to avoid burning!
Boil and Thicken the Jam
After achieving a rolling boil, it’s time to add the sugar:
- Add granulated sugar and return to a rolling boil.
- Continue boiling for about a minute while stirring frequently. This is what will thicken your jam and give it that beautiful glossy finish!
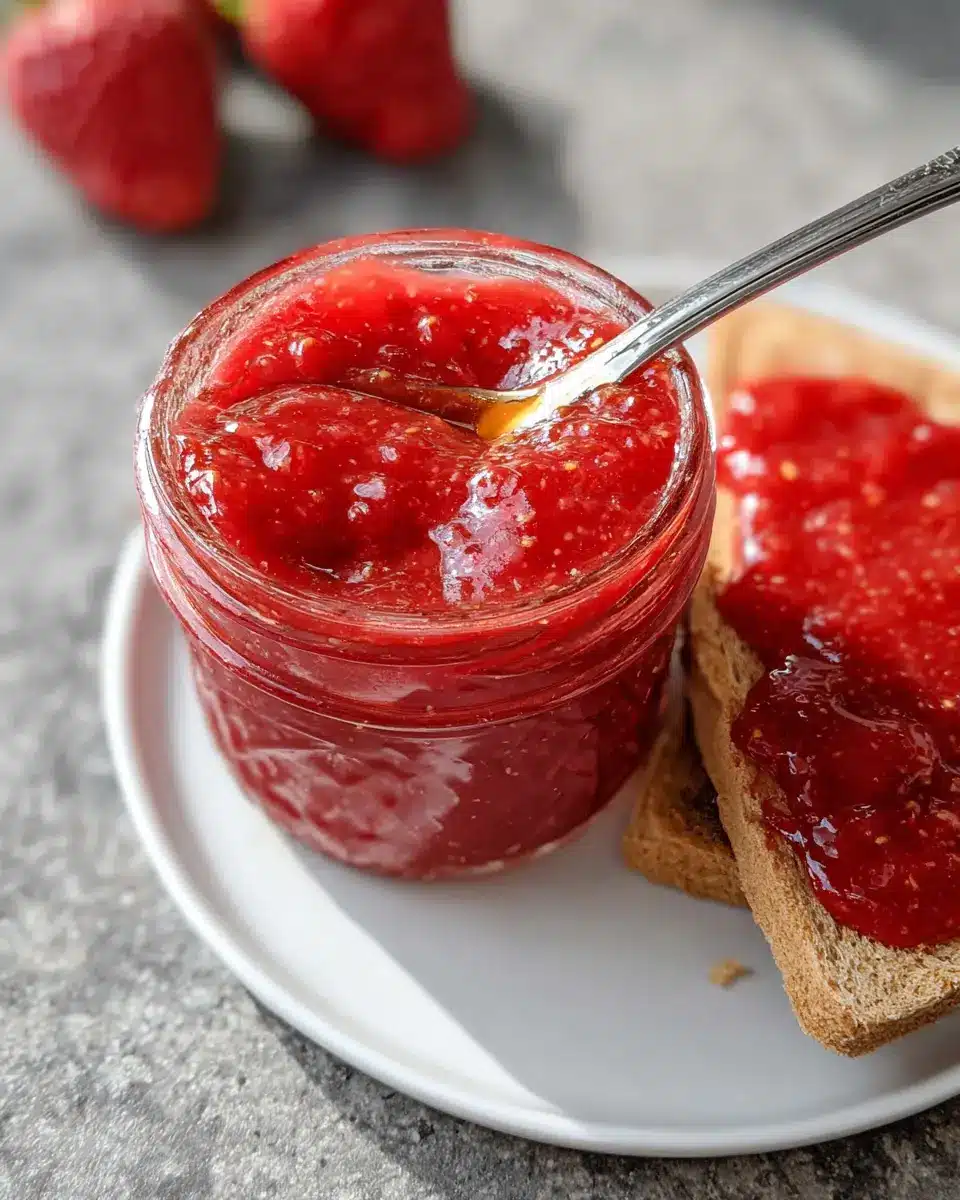
Can the Jam or Refrigerate It
Depending on your plans for storage, you have two options here:
- If you’re canning the jam, use a funnel to ladle your hot jam into the warm jars, leaving a ¼" headspace. Clean any jam off the rim before sealing with lids and rings.
- For quick use, simply let your jam cool slightly in refrigerated containers. It can stay fresh for about 5-6 days.
After processing, the jars should seal as they cool. If you notice a lid that hasn’t sealed properly, don’t fret! You can reprocess it or place it directly in the fridge.
And there you have it—a simple, straightforward guide for making your own scrumptious homemade low sugar strawberry jam. Enjoy the fruits of your labor on your favorite breakfast items or share them with friends!
Variations on Homemade Low Sugar Strawberry Jam
Strawberry-Raspberry Jam
If you're looking to switch things up, try mixing in some raspberries for a vibrant twist on your homemade low sugar strawberry jam. The tartness of raspberries beautifully complements the sweetness of strawberries, creating a deliciously complex flavor. Simply replace a cup of strawberries with a cup of crushed raspberries in the original recipe. You'll love how this small change adds a burst of color and excitement to your jam!
Spiced Strawberry Jam
For a unique flavor experience, consider adding warming spices to your homemade low sugar strawberry jam. A teaspoon of cinnamon or a pinch of ginger can create a delightful spicy profile. Just stir in the spices during the cooking process, and watch as your jam transforms into a cozy treat perfect for spreading on toast or mixing into yogurt. These little variations not only refresh your jam game but also spark creativity in your kitchen!
Cooking Tips and Notes for Homemade Low Sugar Strawberry Jam
Making homemade low sugar strawberry jam is a rewarding kitchen adventure! Here are some helpful tips to elevate your jam-making game:
-
Choose ripe strawberries: The key to great jam is using fresh, ripe strawberries. Look for berries that are bright red without any bruises.
-
Use a quality pectin: Invest in a good low-sugar pectin like Ball Low or No-Sugar Needed Pectin. It helps achieve the right texture without needing too much sugar.
-
Adjust flavors: Want to spice things up? Try adding a hint of vanilla extract or a sprinkle of cinnamon for a unique twist.
-
Storage tips: If you’re not canning, freeze your jam in airtight containers. It can last for up to a year in the freezer!
Happy jam-making, and enjoy spreading this delightful treat on various dishes!
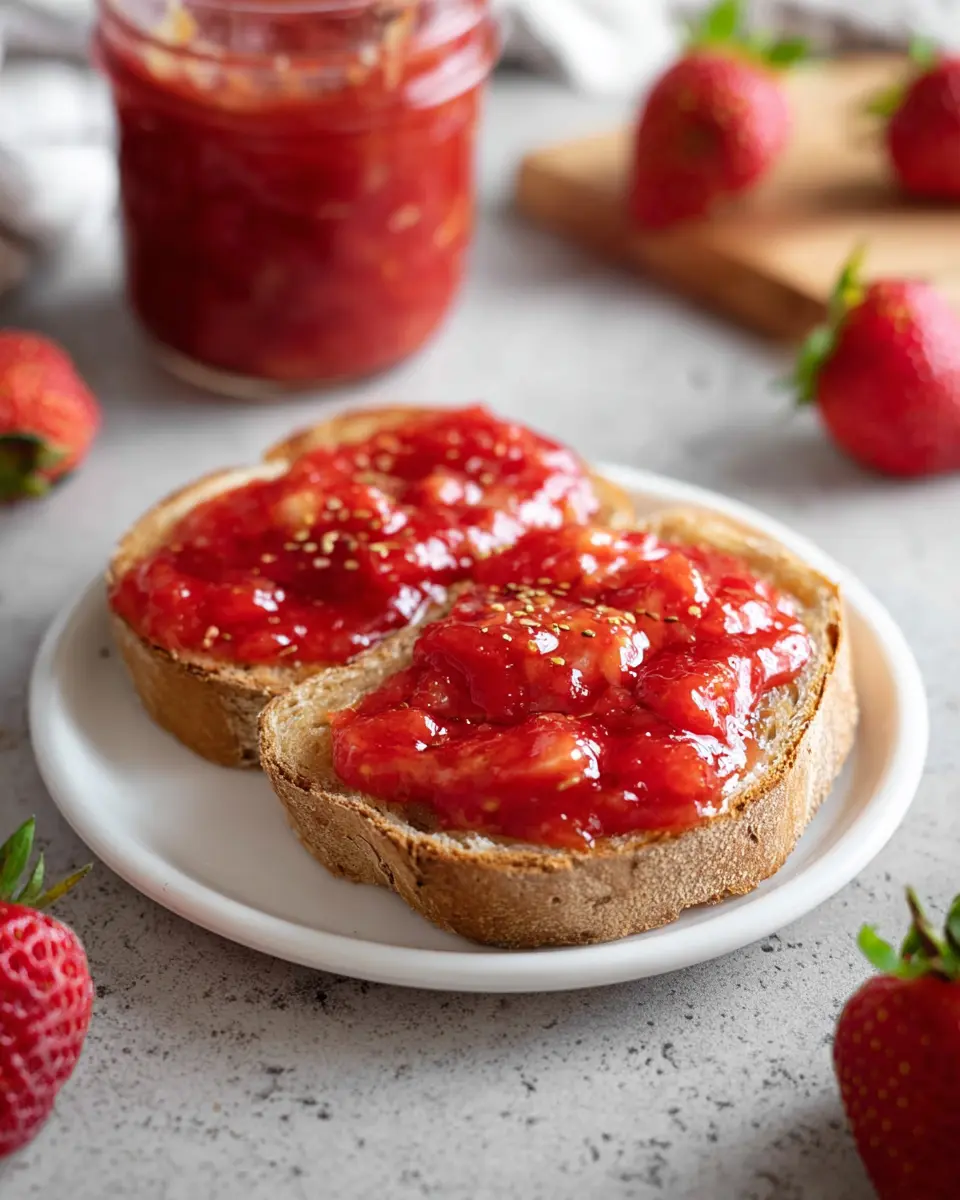
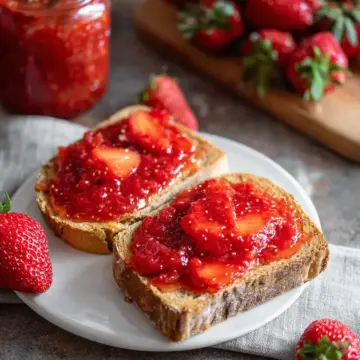
Serving Suggestions for Homemade Low Sugar Strawberry Jam
Once you’ve made your delightful homemade low sugar strawberry jam, the fun really begins! Here are a few tasty ideas to elevate your dishes:
- Breakfast Boost: Spread it on whole-grain toast or yogurt. It’s a fantastic way to start your day with a hint of sweetness.
- Savory Touch: Pair it with turkey bacon or chicken ham for a delectable breakfast sandwich that balances sweet and savory.
- Dessert Delight: Use it as a filling for cupcakes or layer it in a parfait with granola and fresh fruit for a beautiful presentation.
- Cheese Companion: Complement your cheese board! A dollop of jam alongside soft cheeses like brie or goat cheese adds a delicious contrast.
Explore these serving suggestions and create your perfect jam experience!
Time Breakdown for Homemade Low Sugar Strawberry Jam
Prep Time: 15 minutes
Start your jam journey by washing and crushing those luscious strawberries. This is the fun part!
Cook Time: 25 minutes
Once you've combined your ingredients, the cooking time is quick. Just a few more minutes and you’ll have delicious jam bubbling on the stove.
Total Time: 40 minutes
From prep to your finished jars, it's just 40 minutes! Perfect for a busy weekend afternoon when you want a sweet treat stocked in your fridge.
Making your homemade low sugar strawberry jam is not just a culinary adventure but a delightful way to elevate your breakfasts and snacks. Ready to enjoy that sweet, tangy flavor? Don’t forget to check for more tips on canning techniques if you’re new to this!
Nutritional Facts for Homemade Low Sugar Strawberry Jam
Calories
Each serving of homemade low sugar strawberry jam contains just 18 calories, making it a light and guilt-free spread for your breakfast and snacks. Enjoy this fruity delight without compromising your health goals!
Sugar Content
With only 4 grams of sugar per serving, our low sugar strawberry jam allows you to indulge in sweetness while keeping your sugar intake low. It’s a fantastic alternative to traditional jams that can pack in the sugar. Plus, the natural sweetness of strawberries shines through, so you won’t feel like you're missing out at all!
FAQs about Homemade Low Sugar Strawberry Jam
Can I substitute fresh strawberries with frozen ones?
Absolutely! You can use frozen strawberries in your homemade low sugar strawberry jam. Just make sure to thaw and drain any excess liquid before crushing them. This might slightly change the texture, but the taste will still be delicious!
What can I do if my jam doesn’t thicken?
If your jam doesn’t thicken as expected, don’t worry! A common reason might be inadequate cooking time or the fruit’s natural pectin content. To remedy this, you can simmer the jam longer, or mix in a little more pectin according to package instructions. Remember, the jam will thicken as it cools, so give it some time!
How long does homemade jam last?
When stored correctly, your homemade low sugar strawberry jam can last about 1 month in the fridge if not canned. If you decide to can it properly, it can last up to a year in the pantry. Just keep an eye on the seals and store it in a cool, dark place for optimal freshness.
If you’re looking for more jam tips, check out resources like the National Center for Home Food Preservation for expert guidance.
Conclusion on Homemade Low Sugar Strawberry Jam
Creating homemade low sugar strawberry jam is not just about nutrition—it's about the joy of crafting something delightful. This jam is versatile, perfect for spreading on toast or adding to yogurt. Plus, it brings a taste of summer to your meals all year round. Enjoy your homemade treat!
For more canning tips and ideas, check out sources like the National Center for Home Food Preservation for expert advice.
The Best Homemade Low Sugar Strawberry Jam
Equipment
- Canning Pot
- Canning Tools
Ingredients
- 8 cups crushed strawberries
- ¼ cup water
- 1 tablespoon fresh lemon juice
- 6 tablespoons Ball Low or No-Sugar Needed Pectin
- 1 cup granulated sugar
- 8 half-pint mason jars
Instructions
- If you are canning your jam, then sanitize and prepare the jars. Boil them in a water bath for ten minutes, then remove.
- Wash strawberries and remove the stems and hulls. Crush the strawberries either by using a food mill or hand potato-masher.
- Place strawberries, water, and lemon juice in a large stock pot. Stir in pectin and heat the mixture over high heat until it comes to a rolling boil.
- Add in the sugar and return to a rolling boil. Continue boiling for a minute, while stirring then remove from heat.
- If you don't plan on canning the jam then let cool for a few minutes before pouring into containers.
- If you are canning the jam, place a funnel in jar, then ladle the hot jam into the warm jars, leaving a ¼" head space.
- Place sealed jars into a boiling water bath and boil, fully submerged, for 10 minutes. Carefully remove jars and place on a cooling rack to cool.

Leave a Reply