
Introduction to the Best Sweet and Sour Sauce
Making your own sweet and sour sauce at home brings a world of flavors right to your kitchen. Why settle for store-bought versions that are often loaded with preservatives and artificial ingredients? By preparing the best sweet and sour sauce yourself, you ensure that every ingredient is both fresh and wholesome. Not only is this sauce incredibly quick to whip up — taking just about five minutes — but it also tastes far superior to anything you'd buy off the shelf.
Think about what you can achieve by using simple, quality ingredients like canned pineapple juice, rice vinegar, and soy sauce. You can easily customize the sweetness and tanginess to suit your palate. This recipe is perfect for dipping fried foods, drizzling over stir-fries, or even as a glaze for grilled chicken or tofu. Additionally, homemade sauces often have a fraction of the calories compared to store-bought varieties, allowing you to indulge guilt-free.
So, are you ready to elevate your meals? Dive into this simple recipe and discover just how delightful homemade sweet and sour sauce can be! It’s a game-changer for busy young professionals looking to enhance their dining experience without much hassle.
For tips on ingredient alternatives and using this sauce in various dishes, check out this guide on Asian sauces.
Ingredients for the Best Sweet and Sour Sauce
Essential Ingredients for Perfect Flavor
To whip up the best sweet and sour sauce, you need a balance of sweetness and tanginess. Here are the key ingredients:
- Canned Pineapple Juice: Provides the essential sweetness and acidity. Make sure to use canned or bottled to avoid enzymatic reactions inhibiting thickness.
- Light Brown Sugar: Adds that rich sweetness with a hint of caramel flavor. If you’re looking for a lighter option, consider using a brown sugar alternative.
- Rice Vinegar: This is crucial for that authentic tang. You can also swap in apple cider vinegar if necessary.
- Ketchup: Adds depth and a bit more sweetness, rounding out the sauce's flavor profile.
- Soy Sauce: A must for umami, enhancing the overall taste.
Optional Ingredients for Customization
Feel free to personalize your sweet and sour sauce! Consider these options:
- Cornstarch Slurry: Essential for achieving the right thickness.
- Natural Red Food Coloring: Just a couple of drops can enhance visual appeal without any artificial additives!
- Spices: A dash of garlic powder or ginger can introduce a lovely warmth.
- Chili Flakes: For those who enjoy a spicy kick, adding a sprinkle can elevate your sauce.
Feel inspired to create your unique version while sticking to these foundational flavors!
Step-by-step Preparation of Sweet and Sour Sauce
Creating the best sweet and sour sauce at home is not only simple but also incredibly rewarding. With just a handful of ingredients and a few easy steps, you’ll have a delicious sauce that elevates any dish. Let’s get started!
Gather your ingredients
First things first, make sure you have everything you need for your sweet and sour sauce. Here's a quick list:
- 1 cup canned pineapple juice
- ¾ cup packed light brown sugar (you can opt for a brown sugar alternative if you're looking for a lower sugar option)
- ⅓ cup rice vinegar (or substitute with apple cider vinegar)
- 3 tablespoons ketchup
- 2 tablespoons soy sauce or tamari (if you need a gluten-free option)
- 1 ½ tablespoons cornstarch mixed with 2 tablespoons water for thickening
- Optional: 2-3 drops of natural red food coloring to give it that gorgeous vibrant hue.
Having everything ready at your fingertips makes the cooking process smooth and enjoyable!
Combine ingredients in a saucepan
Now, grab a small saucepan and combine all the ingredients mentioned above—except for the cornstarch slurry. Mixing these ingredients together will help create a solid base for your best sweet and sour sauce.
Bring to a boil and stir
Once your ingredients are in the saucepan, turn the heat to medium, and bring the mixture to a boil. It's important to stir occasionally to prevent the sugar from sticking to the bottom or burning. The combination of pineapple juice, vinegar, and sugar will create an aromatic tang that fills your kitchen.
Add the cornstarch slurry
When your mixture reaches a rolling boil, it's time to thicken it up! Carefully add the cornstarch slurry to the saucepan while stirring continuously. This helps to avoid clumps and ensures a smooth texture for your sauce.
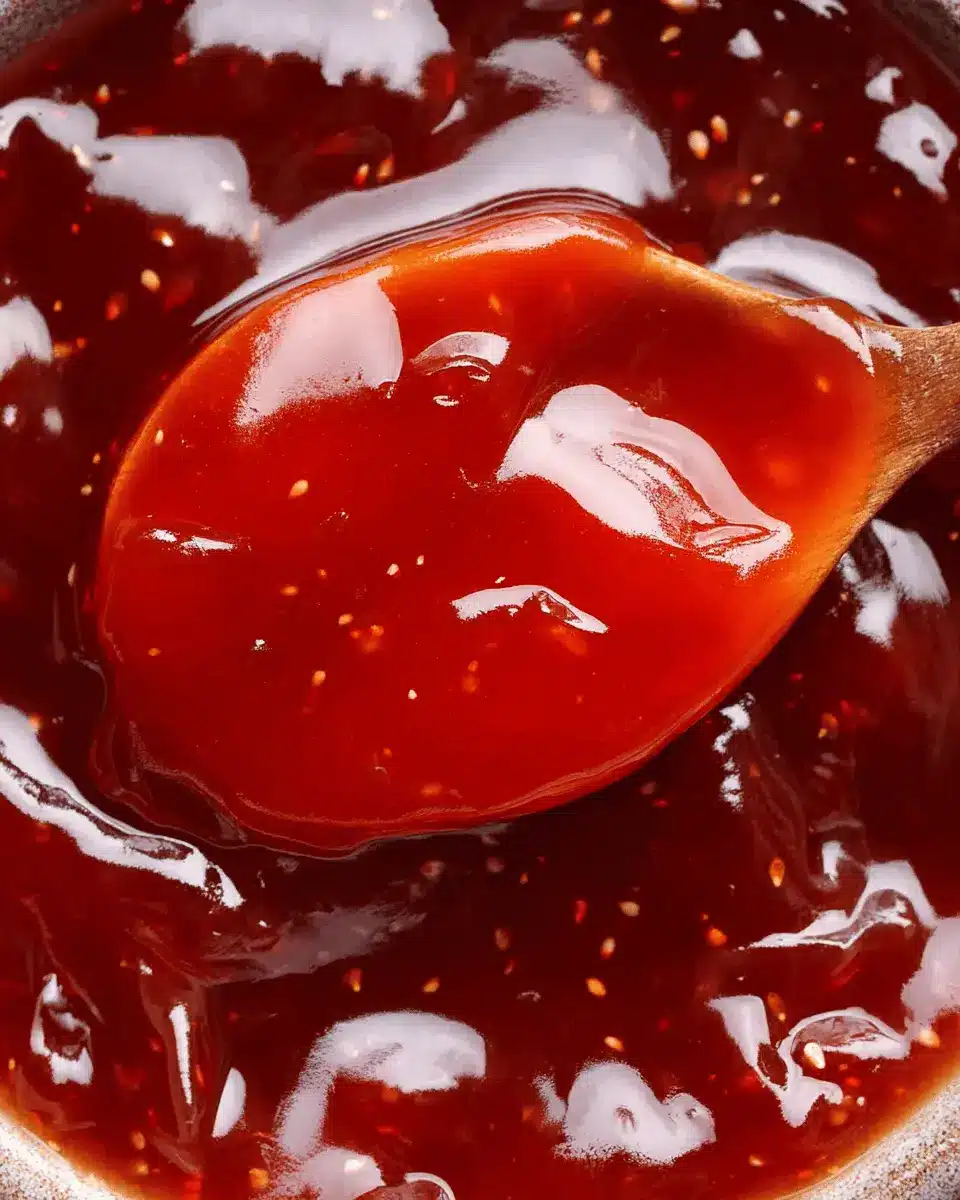
Simmer until thickened
After incorporating the cornstarch, leave the sauce to simmer for an additional minute or so, continuing to stir as it thickens. You'll notice the sauce transform from a liquid to a luscious coating perfect for dipping or drizzling over your favorite dishes—like chicken or beef stir-fry!
Cool and store
Once your sauce has thickened to perfection, remove it from the heat and allow it to cool completely. After it's cooled, transfer your homemade sauce to an airtight container and store it in the refrigerator. This best sweet and sour sauce will last for about 2-3 weeks, but trust me, it's so good that it won’t last long!
Making your own sweet and sour sauce is a game changer—no preservatives, just pure, delicious flavor waiting to be enjoyed with your next meal! Happy cooking!
Variations on Sweet and Sour Sauce
Tropical Twist with Mango
For a delightful twist on the best sweet and sour sauce, blend in some fresh or pureed mango! This addition brings a rich, tropical flavor that pairs well with grilled chicken and veggies. Simply puree half a ripe mango and stir it into your sauce before simmering. You can also try adding fresh pineapple chunks for an extra burst of sweetness and texture.
Low-Sugar Alternative Options
If you’re watching your sugar intake, don’t worry! Substituting brown sugar with a sugar alternative like coconut sugar or monk fruit can help create a lower-sugar version of your sauce without sacrificing taste. Adjust quantities based on your preference and enjoy guilt-free dipping that fits your health goals. For more insights on sugar alternatives, check out healthline.com.
Cooking Tips and Notes for Sweet and Sour Sauce
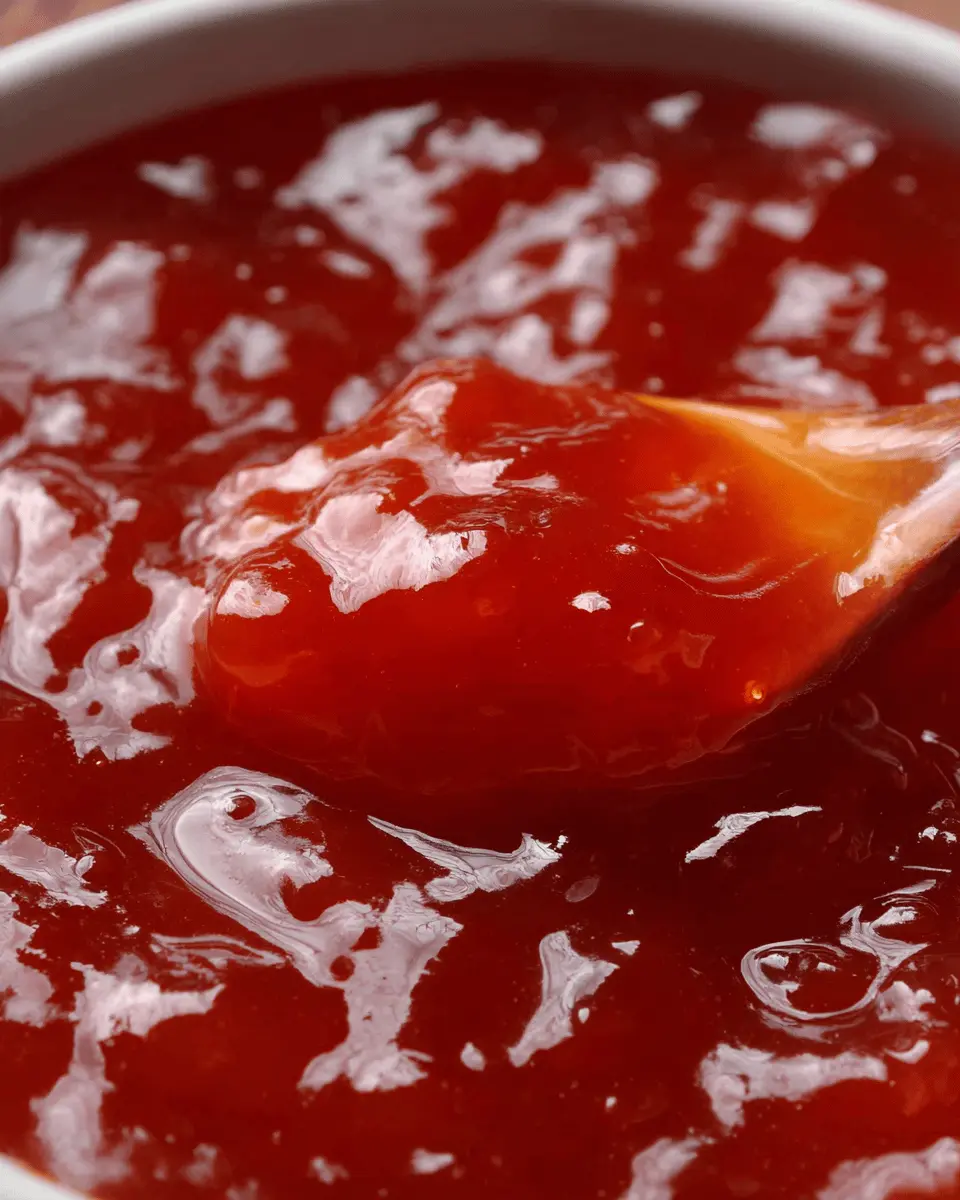
How to Achieve the Perfect Thickness
To ensure your best sweet and sour sauce has that just-right thickness, always use a cornstarch slurry. Mix 1.5 tablespoons of cornstarch with 2 tablespoons of water, and stir it in during the last minute of cooking. Make sure to keep stirring as it thickens over heat. For a truly velvety finish, avoid using fresh pineapple juice; go for canned or bottled to prevent unwanted separation.
Avoiding Common Mistakes
One of the most common pitfalls is skimping on the sugar. The right balance is key in achieving that delightful sweet-and-sour profile. If the sauce tastes too sharp, consider adding a touch more sugar or honey. Also, remember to simmer instead of boil after adding the cornstarch—it helps lock in that luscious texture! For more tips, check out Serious Eats or Taste of Home.

Serving Suggestions for Sweet and Sour Sauce
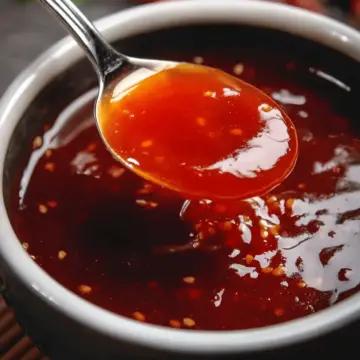
Best Dishes to Pair with Sauce
The best sweet and sour sauce elevates a variety of dishes. Consider pairing it with:
- Grilled Chicken: Brush on chicken fillets while grilling for a delicious glaze.
- Turkey Bacon: A savory twist when glazed over crispy turkey bacon bites.
- Vegetable Stir-Fries: Drizzle it over colorful veggies for a delightful flavor boost.
- Spring Rolls: Serve as a dipping sauce for a crispy edge.
Creative Ways to Use Leftover Sauce
Don’t let that delicious sauce go to waste! Here are some clever ideas to use up leftovers:
- Marinade: Use it as a marinade for meats or tofu before cooking.
- Salad Dressing: Mix with a bit of olive oil for a zesty salad dressing.
- Rice Topping: Drizzle over steamed rice or quinoa for added excitement.
- Pizza Sauce: Swap traditional pizza sauce with sweet and sour sauce for a tasty twist.
Feel free to explore your culinary creativity and enjoy the myriad flavors!
Time Breakdown for Sweet and Sour Sauce
Preparation Time
You'll only need 2 minutes to gather your ingredients and whip up this delightful sauce. It's a quick process that ensures you spend more time enjoying your meals and less time in the kitchen!
Cooking Time
Once you're ready, it takes just 3 minutes to cook the sauce on the stove. In no time, your kitchen will be filled with irresistible aromas!
Total Time
All in all, you can have the best sweet and sour sauce ready in just 5 minutes! Whether it’s for dipping or drizzling, this sauce is sure to impress!
Feel free to check out Daring Gourmet for more delightful sauces and recipes you'll want in your repertoire.
Nutritional Facts for Sweet and Sour Sauce
Calories per serving
When you indulge in this best sweet and sour sauce, you’re treating yourself to approximately 52 calories per 2 tablespoons. That makes it a delightful, guilt-free addition to your meals!
Sugar content
One serving packs about 12g of sugar, mainly from the brown sugar and pineapple juice. If you're looking for lower sugar alternatives, consider using a brown sugar substitute to tailor it to your taste.
Sodium levels
With around 154mg of sodium per serving, this sauce offers a balanced flavor without overwhelming your diet. It's a great choice for those mindful of sodium intake but still craving that sweet and tangy flair.
Feel free to learn more about sugar and sodium contents from trusted sources like the American Heart Association and the Centers for Disease Control and Prevention (CDC).
FAQs about Sweet and Sour Sauce
Can I use fresh pineapple juice?
While fresh pineapple juice might seem like a tasty alternative, it's best to stick with canned or bottled pineapple juice for the best sweet and sour sauce. Fresh juice contains enzymes that break down cornstarch, leading to a thinner sauce. Canned juice is perfectly sweet and a great choice for that authentic flavor without the hassle.
How to store sweet and sour sauce?
Storing your homemade sweet and sour sauce is easy! Once cooled, transfer it to an airtight container and keep it in the refrigerator. It will last for about two to three weeks. Need it for a quick meal? Just pull it out, warm it up, and you’re ready to go!
What can I use as a substitute for brown sugar?
If you're out of brown sugar or looking for a healthier option, you can substitute it with coconut sugar or maple syrup. Both options provide a lovely caramel flavor that complements the sauce well. For a low-sugar alternative, consider using a brown sugar alternative like monk fruit or Stevia.
Conclusion on the Best Sweet and Sour Sauce
In conclusion, this best sweet and sour sauce is a game-changer for your meals! With just a few simple ingredients and minimal prep time, you'll have a delicious, homemade sauce that beats any store-bought version. Enjoy it with your favorite dishes, and impress your friends with your culinary skills!
Why You’ll Love Homemade Sauce
Making your own sweet and sour sauce not only avoids the junk ingredients found in store-bought brands but also allows you to customize flavors to your liking. Whether you dip, drizzle, or toss it with your favorite proteins, this sauce is sure to elevate your culinary creations.
Storage and Usage Tips
- Storage: Keep your sauce in an airtight container in the refrigerator for up to 2-3 weeks.
- Usage Ideas: Try it with grilled chicken, turkey bacon, or as a dressing for stir-fry. The possibilities are endless!
Ready to make your own? For more delightful recipes, explore sites like Serious Eats and The Kitchn for inspiration!
BEST Sweet and Sour Sauce
Equipment
- Small saucepan
Ingredients
- 1 cup canned pineapple juice see note
- ¾ cup packed light brown sugar
- ⅓ cup rice vinegar or apple cider vinegar
- 3 tablespoons ketchup
- 2 tablespoons soy sauce or tamari (GF)
- 1 ½ tablespoons cornstarch dissolved in 2 tablespoons water for slurry
- 2-3 drops natural red food coloring optional
Instructions
- Place all of the ingredients, except for the cornstarch slurry, in a small saucepan and bring to a boil. Stir in the cornstarch slurry and simmer for another minute until thickened, stirring constantly. If using red food coloring, stir it in.
- Let the sauce cool completely and store in an airtight container in the refrigerator where it will keep for 2-3 weeks.


Leave a Reply