
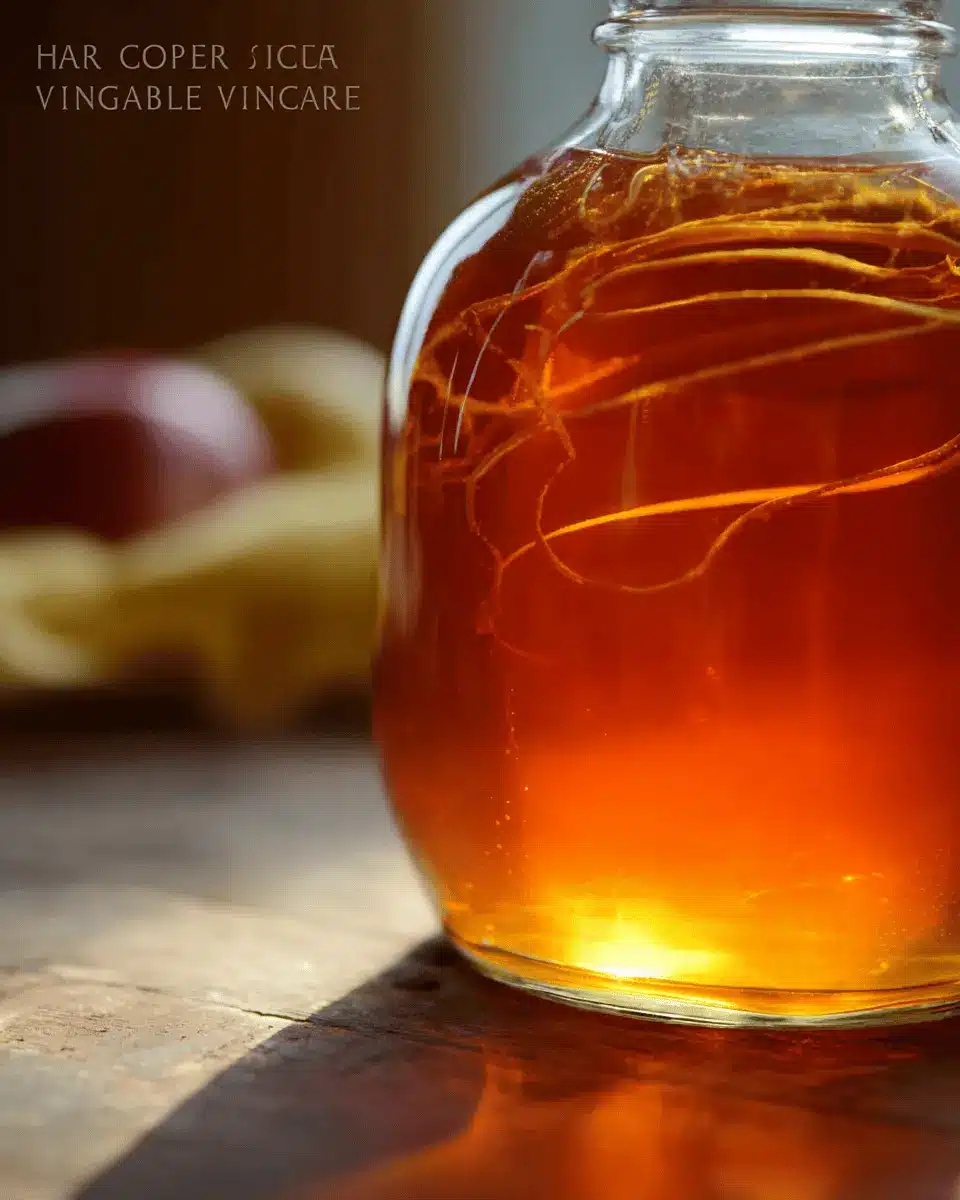
Introduction to Apple Cider Vinegar
Apple cider vinegar has gained quite the reputation in recent years, and for good reason! Many people are discovering its versatility as a kitchen staple and a helpful home remedy. But have you ever considered how you can make your own apple cider vinegar? Not only is it surprisingly easy, but it’s also a fantastic way to reduce waste in the kitchen.
Why make your own apple cider vinegar?
Making your own apple cider vinegar can be a rewarding experience. You can control the ingredients and avoid preservatives often found in store-bought products. Plus, it’s a frugal option—especially if you're repurposing apple scraps that might otherwise go to waste. The process may take a few weeks, but it's mostly hands-off time, allowing you to focus on other things in your life.
In addition to its culinary uses, such as salad dressings and marinades, homemade apple cider vinegar can also be a natural remedy for various health concerns. Research suggests that it may aid digestion, help regulate blood sugar levels, and even promote healthy skin. For all these reasons, learning how to make apple cider vinegar from scraps could be a beneficial skill to add to your culinary repertoire. Not to mention, it’s simply fun to do! So, let’s dive into the recipe.

Ingredients for Homemade Apple Cider Vinegar
Creating your own apple cider vinegar can be a fun and rewarding endeavor! Here’s a breakdown of what you’ll need to get started.
Essential ingredients
To make your homemade apple cider vinegar, you only need a few essential ingredients:
- Apple peelings or cores: Use scraps from your favorite apples. This is a great way to minimize waste!
- Sugar: Use 1 tablespoon of sugar for every cup of water. This will fuel the fermentation process.
- Water: Ideally, use filtered or dechlorinated water to promote a healthy fermentation environment.
- Glass jar: A quart jar is perfect for beginners, but feel free to scale up based on your needs.
Optional ingredients for variations
Want to get a little creative? Here are some optional ingredients to enhance your vinegar:
- Raw apple cider vinegar: A splash can kickstart fermentation by introducing beneficial bacteria.
- Other fruit scraps: Try adding peach or pear scraps to infuse unique flavors.
- Fermenting weights: These can help keep your scraps submerged, promoting better fermentation.
With these ingredients in hand, you’re well on your way to learning how to make apple cider vinegar that’s not just delicious but also eco-friendly!
Step-by-Step Preparation of Apple Cider Vinegar
Making your own apple cider vinegar at home is not just a rewarding experience; it's a fantastic way to reduce food waste and save some money. The process is straightforward and perfect for young professionals looking to harness their culinary creativity. So, let’s dive into the step-by-step process of how to make apple cider vinegar from scraps.
Gather your apple scraps
The first step is to collect your apple scraps. Use the peels and cores from apples you've eaten, or save scraps from your homemade applesauce. Organic apples are ideal since they contain fewer pesticides. If you don’t have enough scraps right away, toss them in the freezer until you're ready—it's a simple way to gather what you need without pressure.
Prepare the sugar-water mixture
Next, you’ll want to take about a tablespoon of sugar for every cup of water you plan to use. Mix the sugar thoroughly into warm water until it mostly dissolves. This sugar solution serves as food for the natural yeast and bacteria during the fermentation process, helping create that familiar vinegar tang.
Combine the ingredients in a jar
Once your sugar-water mixture is ready, fill a clean glass jar (like this quart-sized option) about three-quarters full with your apple scraps. Pour the sugar-water mixture over the scraps, ensuring they are fully submerged, leaving a few inches open at the top. Cover the jar with a breathable material, like a coffee filter or cloth secured with a rubber band, which allows air circulation while keeping out unwanted pests.
Initial fermentation process
Place your jar in a warm, dark space for about two weeks. During this time, you can give it a gentle stir every few days. You might notice some scum forming on the top—don't worry; simply skim that off. This initial fermentation phase transforms your apple scraps into something magical!
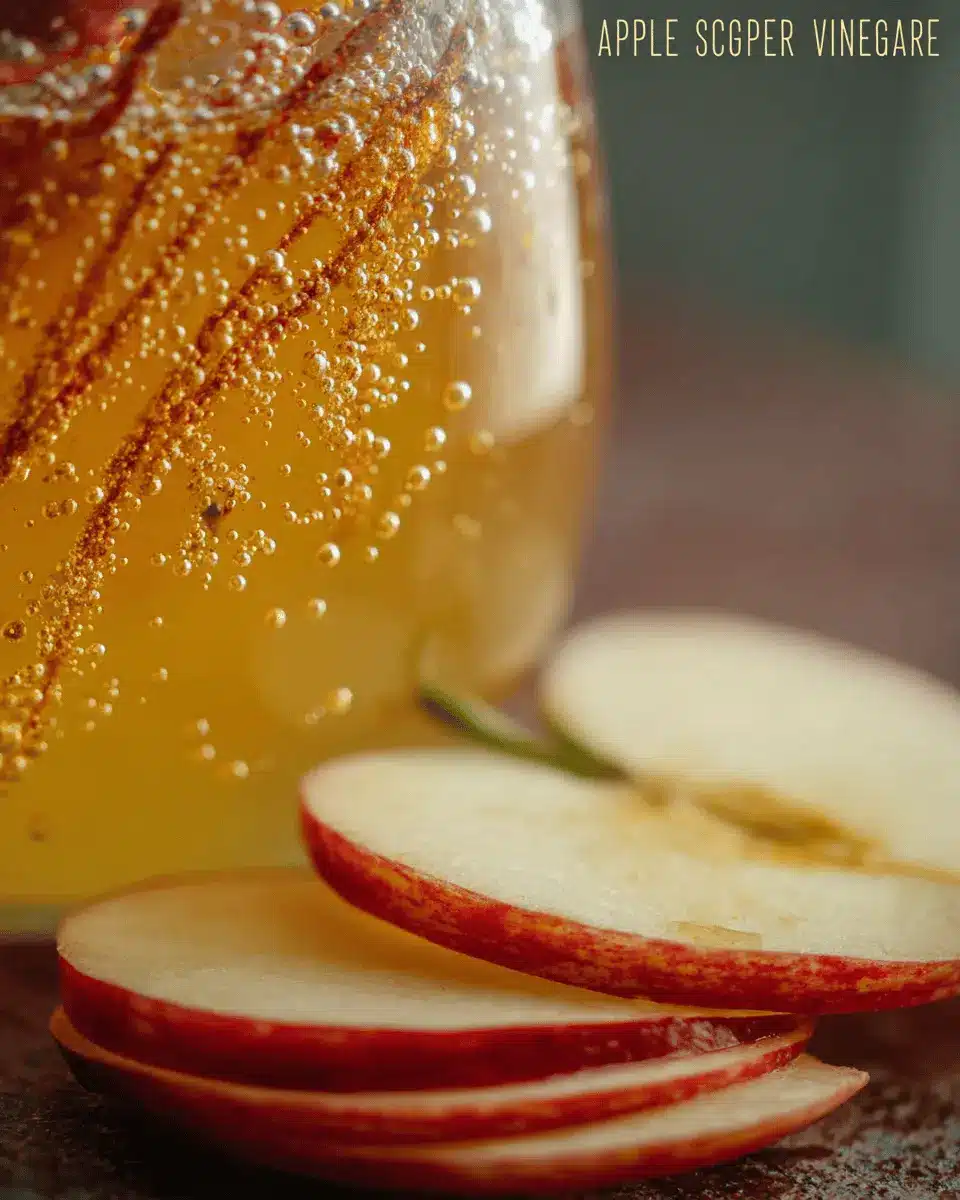
Strain and continue fermentation
After two weeks, it’s time to strain out the apple scraps from your liquid. At this stage, the vinegar should smell pleasantly fruity but still sweet. Discard the scraps (or better yet, compost them!), and set the liquid aside in the jar for an additional 2-4 weeks to develop that familiar vinegar flavor. The longer you let it ferment, the more robust the vinegar will taste.
Final taste check and storage
Once you're happy with the taste, cap your vinegar and store it in a cool, dark place. If you've created a gelatinous blob on top—known as a vinegar “mother”—congratulations! This can be used in future batches. Enjoy your homemade apple cider vinegar in recipes, as a salad dressing, or even as a natural cleaning solution.
Now that you know how to make apple cider vinegar, you'll appreciate every bottle you use. Happy cooking!
Variations of Apple Cider Vinegar
Experimenting with how to make apple cider vinegar can be a fun way to personalize your fermentation project! Here are a couple of variations to try:
Adding Herbs and Spices
Incorporating herbs and spices can elevate your vinegar's flavor profile. Consider adding garlic, rosemary, or even a pinch of cinnamon to enhance your vinegar's taste. The key is to add these ingredients during the initial fermentation phase, allowing their flavors to infuse fully.
Experimenting with Other Fruit Scraps
Don’t limit yourself to just apples! You can use scraps from pears, peaches, or even berries. Each fruit will lend a unique flavor to your vinegar. Mix and match scraps from different fruits to create a delightful concoction that’s tailored to your palate. Just ensure the scraps are fresh and clean for the best results.
By trying these variations, you’ll not only reduce kitchen waste but also craft a truly unique and flavorful vinegar that you can be proud of!
Cooking Tips and Notes for Apple Cider Vinegar
Using Organic Apples
When you’re figuring out how to make apple cider vinegar, opting for organic apples is a smart choice. Organic fruits are less likely to contain harmful pesticides and chemicals, which means your homemade vinegar will be fresher and healthier. Plus, they tend to be more flavorful, enhancing the overall taste of your vinegar.
Keeping Scraps Submerged
To prevent your apple scraps from floating, make sure they stay submerged in the liquid. This is crucial for proper fermentation. You can use fermenting weights or even a clean rock to keep everything underwater. It ensures that the magic of fermentation happens evenly, giving you a delicious final product. If you notice any scraps coming to the top, just give them a gentle push back down!
For more detailed reading on fermentation, you can check out this informative guide. Happy fermenting!
Serving Suggestions for Apple Cider Vinegar
Culinary Uses
Once you master how to make apple cider vinegar, the possibilities in your kitchen are nearly endless! Use it to enhance salad dressings, marinades, or even as a tangy addition to soups. It pairs perfectly with turkey bacon and chicken ham, adding a zesty kick that brightens up any dish. You can also create effective drink mixtures by diluting it in water with a bit of honey for a refreshing beverage. Want to get adventurous? Try splashing some in your homemade barbecue sauce for a unique twist!
Household Cleaning Tips
Your homemade apple cider vinegar isn't just for cooking; it’s also a fantastic all-natural cleaning agent! Its acidity helps cut through grease and grime, making it a powerful weapon against tough stains. Mix equal parts of apple cider vinegar and water in a spray bottle for a simple yet effective surface cleaner. You can even use a solution of apple cider vinegar to freshen up your laundry; just add a cup during the rinse cycle to help remove odors and boost your detergent’s effectiveness. Try it out, and you'll be hooked!
Time Breakdown for Making Apple Cider Vinegar
Preparation time
Making apple cider vinegar from scraps is a breeze! You’ll need just about 10 minutes to gather your apple scraps and prepare the mixture. It's a quick and environmentally friendly project.
Fermentation time
Now, this is where the magic happens. Once your apple scraps are submerged in sugar water, they’ll need to ferment for about 4 weeks. This slow process develops those wonderful flavors and acidity we crave in vinegar.
Total time
When all is said and done, the total time to make your homemade apple cider vinegar is approximately 672 hours and 10 minutes. While that sounds substantial, don’t let it intimidate you! Much of that time is just letting nature take its course. After your initial prep, you can go about your life, checking in occasionally.
By the way, if you’re curious about the science behind fermentation, Nerdist has some great resources for beginners!
Nutritional Facts of Apple Cider Vinegar
Calories
Apple cider vinegar is incredibly low in calories, with just about 3 calories per tablespoon. This makes it a fantastic choice for those watching their caloric intake while seeking bold flavors.
Health benefits
In addition to its minimal caloric content, apple cider vinegar is celebrated for its health benefits, which include aiding digestion, supporting weight management, and possibly regulating blood sugar levels. Research suggests it may even boost heart health by lowering cholesterol. For more insights on the benefits, check out Healthline. Incorporating it into your recipes, like when you learn how to make apple cider vinegar, can promote a healthier lifestyle without sacrificing taste. Engaging in fermentation not only reduces waste but also enriches your diet with beneficial probiotics.
FAQs about Apple Cider Vinegar
Can I use rotten apples?
When it comes to how to make apple cider vinegar, the quality of your fruit matters! While you can use slightly bruised or browned apples, it's best to skip over any that are rotten or moldy. The presence of rot can spoil your vinegar and introduce unwanted flavors. Stick to healthy scraps for the best results.
How do I know when my vinegar is ready?
You’ll know your vinegar is complete once it has that unmistakable tang and vinegary aroma. Initially, after about two weeks of fermentation, it should smell sweet, but as you let it age for another 2-4 weeks, that acidity will develop. If it hasn’t reached your desired flavor yet, just give it a little more time.
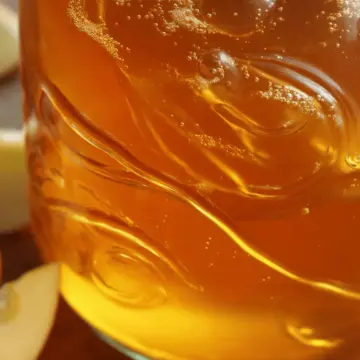
What is the "mother" in vinegar?
Ah, the mysterious vinegar mother! This gelatinous blob forms during fermentation and is packed with beneficial bacteria. Not only is it harmless, but it also can be used to kickstart future batches of vinegar. So, if you spot one floating at the top—congratulations! You’ve made your vinegar even richer in flavors and health benefits. For more information on vinegar fermentation, check out this detailed guide from The Spruce Eats.
Conclusion on Homemade Apple Cider Vinegar
Creating your own apple cider vinegar from scraps is not only a frugal choice, but it also allows you to craft a delicious, versatile condiment with minimal waste. Embrace the art of fermentation, and enjoy the fruity flavors of your homemade vinegar in meals and household tasks. Happy fermenting!
How to Make Apple Cider Vinegar from Scraps
Equipment
- Glass jar
Ingredients
Apple Scraps
- 1 quart Apple peelings or cores
- 1 tablespoon Sugar per cup of water used
- 4 cups Water approximately
- Glass jar a quart is a great starting size
Instructions
Fermentation Instructions
- Fill the glass jar ¾ of the way with the apple peels and cores.
- Stir the sugar into the water until it’s mostly dissolved, and pour over the apple scraps until they are completely covered. Leave a few inches of room at the top of the jar.
- Cover loosely with a coffee filter or fabric scrap secured with a rubber band and set in a warm, dark place for around two weeks.
- Stir every few days. If any brownish/greyish scum develops on top, skim it off.
- Once two weeks has passed, strain the scraps from the liquid.
- Discard the scraps, and set the strained liquid aside for another 2-4 weeks.
- Your apple cider vinegar is complete once it has a vinegary smell and taste. Allow it to sit longer if necessary.
- Once satisfied with the taste, cap and store it as long as you like.
- If a gelatinous blob develops on top, you have created a vinegar mother, which can be used for future batches.
- Use your homemade vinegar just like you would store-bought vinegar for cooking, cleaning, and more.


Leave a Reply