
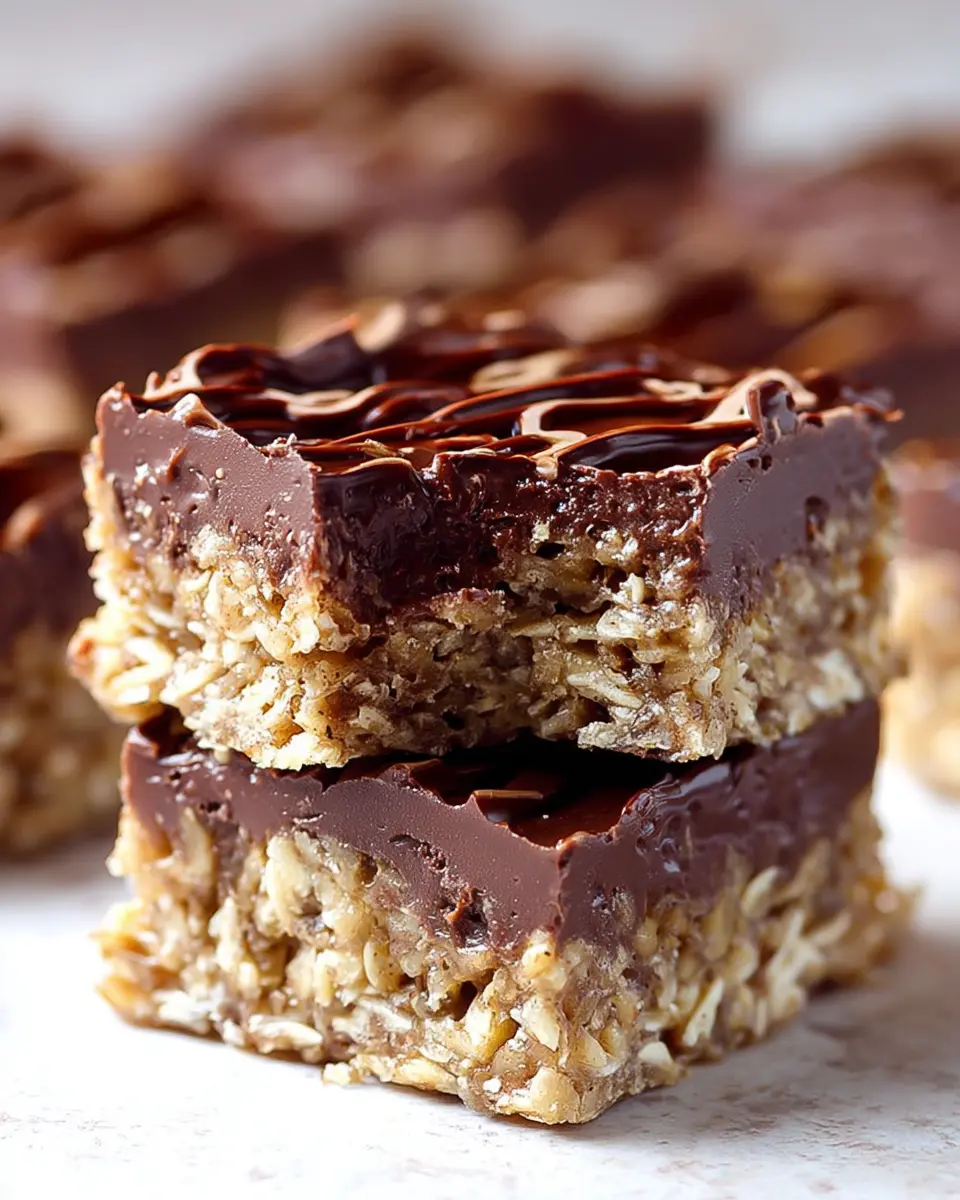
Introduction to No Bake Chocolate Oatmeal Bars
If you're a busy young professional constantly on the go, no-bake chocolate oatmeal bars might just be the answer to your snacking dilemmas. With an easy preparation time of just 15 minutes, these delicious treats save you from the lengthy process of baking, making them a perfect quick-fix dessert or snack option. Plus, with only a handful of ingredients like oats, peanut butter, and chocolate, you can whip them up in no time!
Imagine coming home after a long day at work, too tired to think about cooking, but craving something sweet and satisfying. That's where these bars shine! They are not only a tasty indulgence but also a great way to fuel your body with wholesome ingredients. You can enjoy them pre- or post-workout, or even as a delightful treat during your afternoon slump. According to a 2019 study from the Academy of Nutrition and Dietetics, snacks that include oats can provide lasting energy, keeping you alert and focused.
So grab your ingredients and let’s get started on making these heavenly no-bake chocolate oatmeal bars that are as nutritious as they are delicious!
Ingredients for No Bake Chocolate Oatmeal Bars
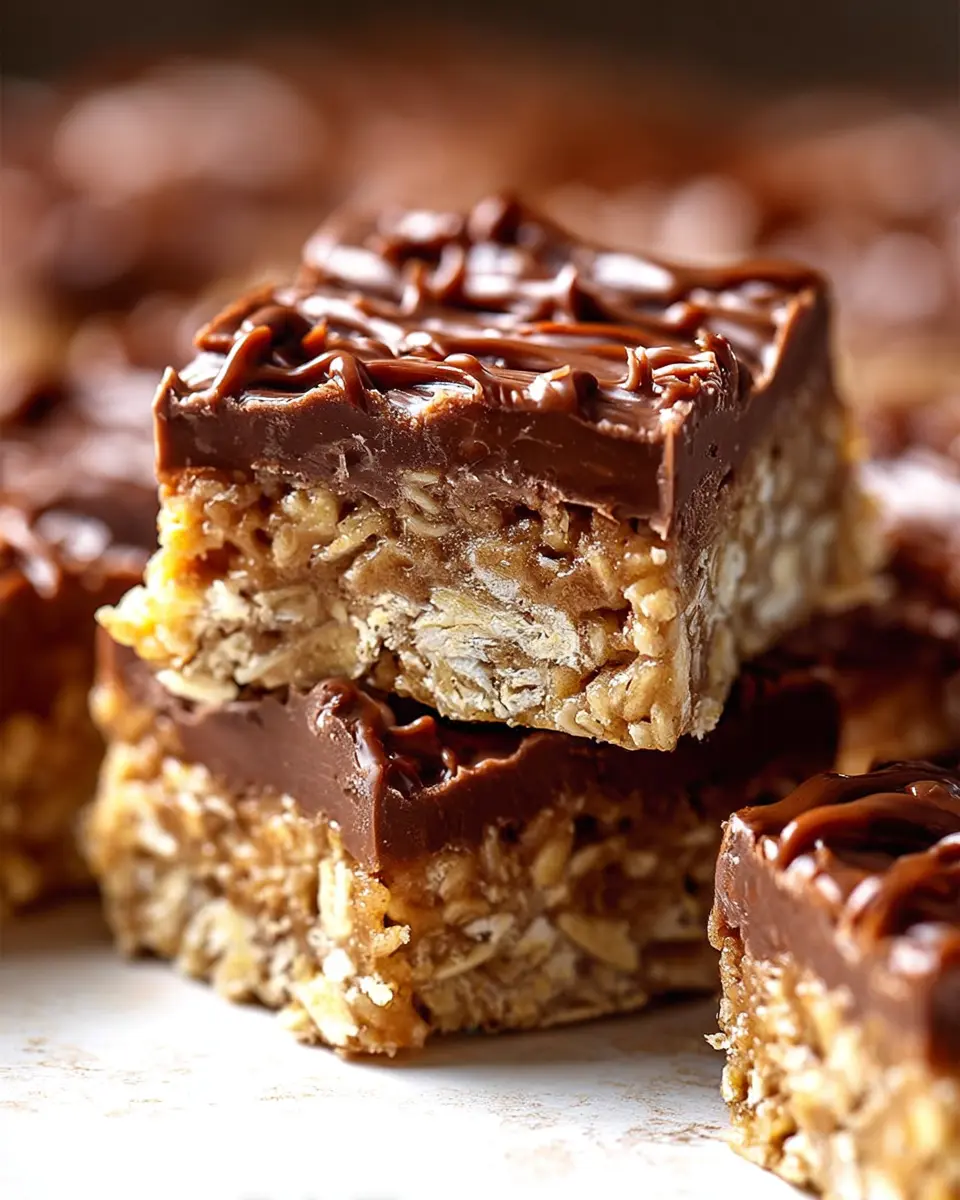
Deliciously simple, these no bake chocolate oatmeal bars are a delightful treat that you can whip up in no time. Here’s what you’ll need to make them:
- 1 cup butter: The foundation of your bars, giving them that rich flavor.
- ½ cup packed brown sugar: This adds a hint of molasses sweetness that pairs perfectly with chocolate.
- 1 teaspoon vanilla extract: A splash of this will elevate the flavors to another level.
- 3 cups rolled oats: Not only do oats provide a chewy texture, but they also add fiber and nutrients!
- 1 cup semisweet or dark chocolate chips: Choose your favorite for that melty chocolate goodness.
- ½ cup peanut butter: Creamy or crunchy—whichever you prefer! This will create a luscious filling.
Collect these ingredients and get ready to indulge in a treat that’s both satisfying and easy to make. Want to elevate your bars further? Consider adding some chopped nuts or dried fruit!
For tips on sourcing high-quality peanut butter and chocolate chips, check out this guide on selecting healthy ingredients.
Step-by-Step Preparation of No Bake Chocolate Oatmeal Bars
Making no bake chocolate oatmeal bars is not only straightforward but a delightful way to satisfy your sweet cravings without turning on the oven. Let’s dive into the preparation with simple, easy-to-follow steps.
Gather your ingredients
To get started, you’ll want to gather all your ingredients. Here’s what you’ll need:
- 1 cup butter
- ½ cup brown sugar (packed)
- 1 teaspoon vanilla extract
- 3 cups rolled oats
- 1 cup semisweet or dark chocolate chips
- ½ cup peanut butter
This is a great time to ensure you have everything on hand. No one likes a last-minute milk run, right?
Prepare the baking dish
Next, prepare your baking dish. Line an 8-inch or 9-inch square pan with parchment paper, letting it hang over the edges a bit. This makes it super easy to lift out your no bake chocolate oatmeal bars once they are set. If you prefer thinner bars, feel free to use a larger 9x13-inch pan.
Melt the butter and sugar mixture
Now, let’s melt the butter and sugar! In a large saucepan, melt your butter over medium heat. Once it’s nearly melted, add the packed brown sugar and stir until it dissolves completely. Don’t forget to mix in the vanilla extract. This will give your bars a deliciously rich flavor. Stir in your rolled oats and cook this mixture over low heat for about 3 to 4 minutes until everything is well blended.
Combine oats and layer in the pan
Pour half of the oat mixture into your prepared baking dish. Spread it out evenly and press down gently. This will form the first layer of your bars. Make sure it's compact for the best texture!
Prepare the chocolate and peanut butter filling
For the filling, it’s time to melt the peanut butter and chocolate chips together. You can easily do this using a microwave-safe bowl, heating in short bursts, stirring in between until the mixture is smooth and combined. The aroma at this stage is nothing short of heavenly!
Assemble the layers
Pour the chocolate filling over the first oat layer, making sure to reserve about ¼ cup to drizzle on top later. Spread this layer evenly, then gently pour the remaining oat mixture over it, pressing down gently once again. Drizzle the reserved chocolate mixture on top for that perfect finishing touch.
Refrigerate until set
Lastly, pop the entire tray into the refrigerator. Let it chill for at least 2 to 3 hours (or even overnight for the best results). Once they’re set, remove them from the pan using the edges of the parchment paper, and cut into squares.
And there you have it—delicious, homemade no bake chocolate oatmeal bars that are ready to be devoured! These make a great snack or dessert, perfect for sharing—or for keeping all to yourself. Enjoy!
Variations on No Bake Chocolate Oatmeal Bars
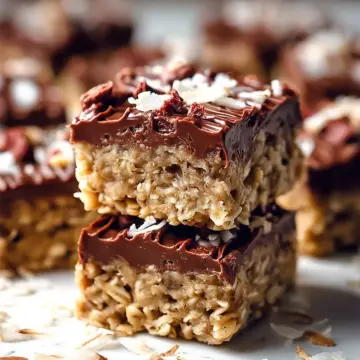
These no bake chocolate oatmeal bars are a blank canvas just waiting for your personal touch! Here are some creative variations to make them even more delightful.
Add-ins for a crunchy twist
Looking to elevate your bars? Consider mixing in:
- Nuts: Chopped almonds, walnuts, or pecans add a satisfying crunch.
- Seeds: Flax seeds or chia seeds not only enhance texture but also boost nutritional value.
- Dried Fruits: Raisins, cranberries, or apricots offer a sweet contrast to the chocolate.
These add-ins can make your bars more filling and add complexity to the flavor profile.
Flavor swaps with alternate nut butters
While peanut butter is a classic choice, don’t hesitate to experiment with other nut butters. Try:
- Almond Butter: For a milder flavor and a hint of sweetness.
- Sunflower Seed Butter: A great nut-free alternative that’s just as creamy.
- Cashew Butter: To lend a rich and buttery taste.
Making these simple swaps can refresh your no bake chocolate oatmeal bars and keep your taste buds excited!
Cooking Tips and Notes for No Bake Chocolate Oatmeal Bars
Creating these no bake chocolate oatmeal bars is a breeze! Here are some handy tips to ensure your bars turn out perfect every time:
Use Parchment Paper Wisely
When lining your baking dish, allow the parchment paper to overhang. This will help you lift the bars out easily once they're fully chilled.
Precision is Key
The cooking time for the sugar mixture can significantly affect the texture. A gentle simmer for 3 to 4 minutes will help achieve the ideal consistency—too short will leave them soft, while too long may lead to dryness.
Flavor Variations
Feel free to play around with add-ins like chopped nuts or dried fruits for a unique twist on this no bake classic.
For more delicious recipes, check out the extensive guide on no-bake desserts. Enjoy your creation!

Serving Suggestions for No Bake Chocolate Oatmeal Bars
Enjoying no bake chocolate oatmeal bars is all about creativity and personalization. These delicious treats are perfect for various occasions, and I’ve got some fun serving suggestions to elevate your experience!
Snack Time Treat
- Cut the bars into smaller squares for an easy snack on-the-go. They’re perfect for busy mornings or a mid-afternoon pick-me-up.
Pair with Fresh Fruits
- Serve these bars alongside fresh fruits like sliced bananas or strawberries. The fruity freshness complements the rich chocolate and oat flavors beautifully.
Fun Toppings
- Drizzle extra melted chocolate on top or sprinkle with crushed nuts for a delightful crunch.
Perfect with Coffee or Tea
- Pair your bars with a cup of coffee or herbal tea for a delicious afternoon treat, enhancing the flavors of both.
Try these serving ideas, and enjoy your no bake chocolate oatmeal bars to the fullest! For more inspiration, check out this article on healthy snack pairings.
Time Breakdown for No Bake Chocolate Oatmeal Bars
Preparation Time
The prep time for these delicious no bake chocolate oatmeal bars is just 15 minutes! That's right—whip them up in no time, perfect for last-minute cravings or gatherings.
Chill Time
Once you’ve prepped your bars, all you need to do is chill them in the fridge for about 2 hours. This is the secret to achieving that perfect, fudgy texture that melts in your mouth.
Total Time
In total, you’re looking at about 2 hours and 15 minutes to enjoy these mouthwatering no bake chocolate oatmeal bars. A little waiting goes a long way when it comes to flavor!
So, why wait? Collect your ingredients and get ready for a scrumptious treat that’s as easy to make as it is to eat! For even more inspiration, check out this article on variations and tips for making the best bars.
Nutritional Facts about No Bake Chocolate Oatmeal Bars
When it comes to no bake chocolate oatmeal bars, knowing the nutritional profile can guide your snacking decisions. Here’s a quick breakdown:
Calories
Each bar contains approximately 150 calories, making them a satisfying treat without overindulging.
Protein
With around 4 grams of protein per bar, these delightful snacks can help keep you energized throughout your day.
Fiber
You'll find about 3 grams of fiber in each bar, promoting good digestion and keeping you feeling full longer.
These bars provide a balance of taste and nutrition, perfect for a busy lifestyle! For more insights on healthy snacking, check out the Mayo Clinic's guide on nutrition for handy tips and tricks.
FAQs about No Bake Chocolate Oatmeal Bars
How long do these bars last in the fridge?
Once you've made your delicious no bake chocolate oatmeal bars, you can store them in the refrigerator for about one week. Just make sure to keep them in an airtight container to maintain freshness. Trust me—these bars are so tasty, they’ll likely be gone before the week is up!
Can I freeze no-bake bars?
Absolutely! Freezing no bake chocolate oatmeal bars is a great way to enjoy them later. Cut them into portions before freezing, then wrap each bar individually in plastic wrap and place them in a freezer-safe bag. They can last for up to three months in the freezer. When you’re ready to indulge, just let them thaw at room temperature.
What are some common substitutions for the ingredients?
Don’t have all the ingredients on hand? No problem! Here are a few substitutions:
- Instead of peanut butter, try almond butter or sunbutter for a nut-free version.
- Use maple syrup or honey in place of brown sugar for a natural sweetener.
- Rolled oats can be swapped with quick oats if needed.
Feel free to get creative! For more tips, you can check out sites like Simply Recipes or Taste of Home for further inspiration.
Conclusion on No Bake Chocolate Oatmeal Bars
In summary, no bake chocolate oatmeal bars are a quick and delicious treat perfect for busy lifestyles. With just a handful of ingredients, they come together effortlessly and can be customized to suit your tastes. Ideal for snacks or desserts, these bars are loved by everyone. Enjoy!
No Bake Chocolate Oatmeal Bars
Equipment
- large saucepan
- microwave-safe bowl
- 8-inch or 9-inch square baking dish
Ingredients
- 1 cup butter
- ½ cup brown sugar packed
- 1 teaspoon vanilla extract
- 3 cups rolled oats
- 1 cup semisweet or dark chocolate chips
- ½ cup peanut butter
Instructions
- Line an 8-inch or 9-inch square baking dish with parchment paper and set aside. Overhangs the edges of the foil to lift the bars easier from the baking dish.
- Melt butter and brown sugar in large saucepan over medium heat, until the butter has melted and the sugar has dissolved. Stir in vanilla. Mix in the oats.
- Cook over low heat 3 to 4 minutes, or until ingredients are well blended.
- Pour half of the oat mixture into the prepared baking dish. Spread out the mixture evenly, pressing down. Reserve the other half for second layer.
- To make the filling, melt the peanut butter and chocolate chips together in a small microwave-safe bowl and stir until it’s smooth.
- Pour the chocolate mixture over the crust in the pan, reserving about ¼ cup for drizzling and spread evenly.
- Pour the remaining oat mixture over the chocolate layer, pressing in gently and drizzle with the remaining chocolate mixture.
- Refrigerate 2 to 3 hours or overnight. Bring to room temperature before cutting into bars.


Leave a Reply