
Introduction to The Best Home-Baked Japanese Cheesecake Recipe
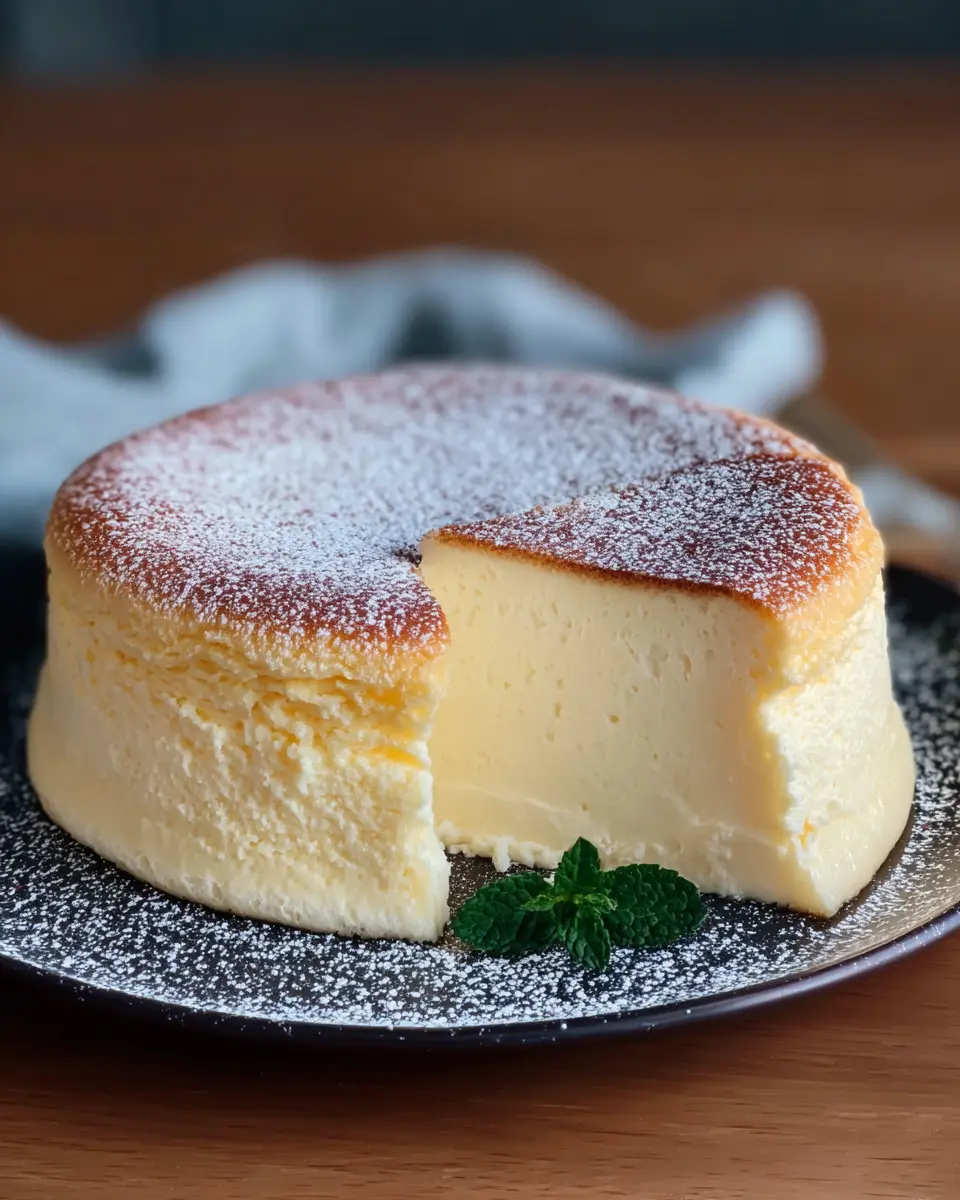
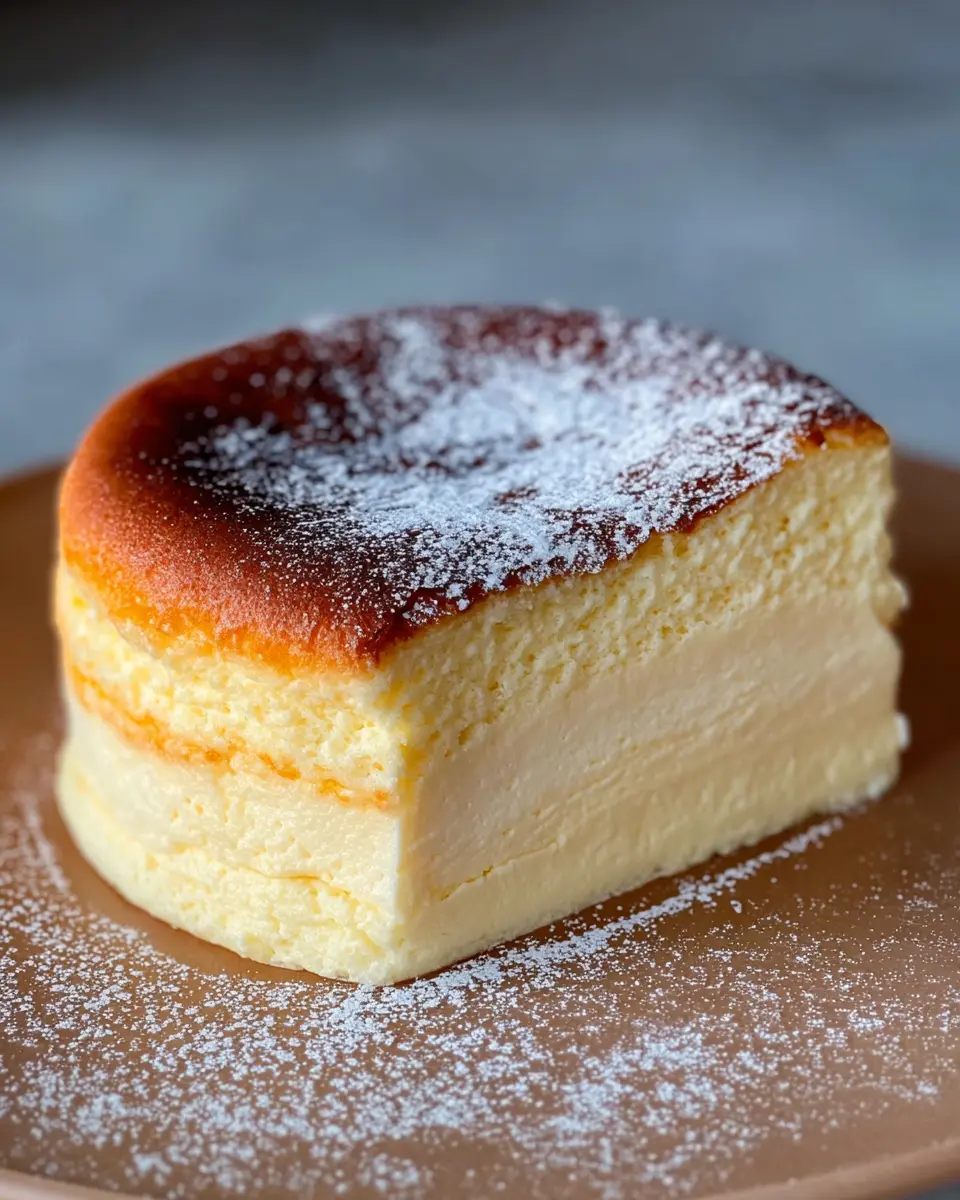
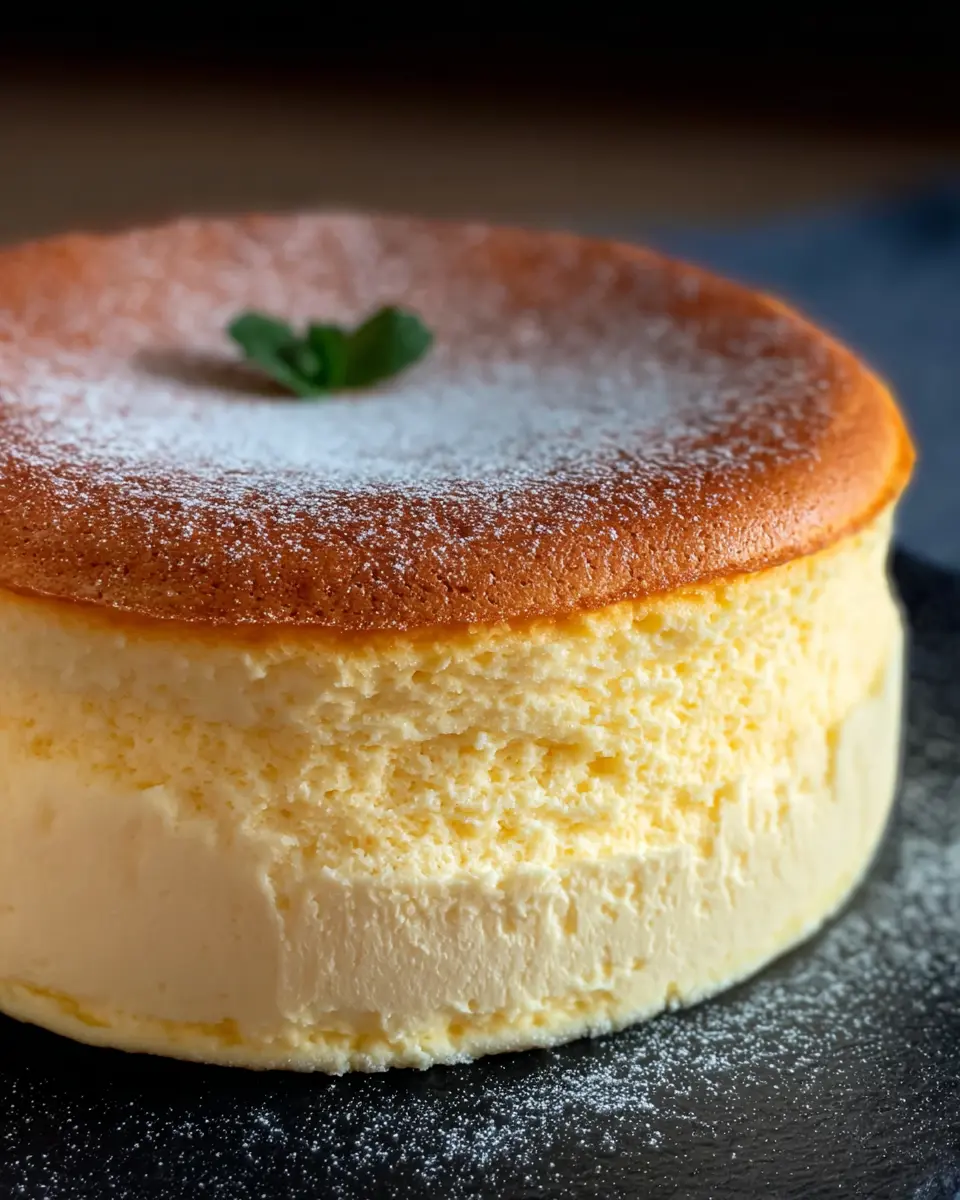
Japanese cheesecake has captured the hearts of home bakers and dessert lovers around the world, and for good reason. This delightful treat, often referred to as Japanese cotton cheesecake, thrives on its airy texture and delicate flavor, offering a unique twist on the traditional cheesecake. Unlike its denser counterparts, Japanese cheesecake is light, fluffy, and incredibly jiggly—qualities that can turn any baking session into a memorable experience.
But what makes it so appealing? The process of making this dreamy dessert combines simple ingredients with a bit of science and skill, making it both approachable for beginners and satisfying for seasoned bakers. With its ability to impress friends at dinner parties or simply indulge in at home, this cake has a knack for bringing people together. You might even sense the excitement as you watch it puff and rise in the oven!
Curious to try your hand at achieving the best home-baked Japanese cheesecake recipe? Follow along as we break down the steps and share tips to ensure it turns out perfectly every time! It's not just a dessert; it’s an experience that has the power to delight all your senses. For more on the origins and techniques behind this delightful dessert, check out sources like Serious Eats and Bon Appétit.
Ingredients for The Best Home-Baked Japanese Cheesecake
Key ingredients for the batter
Creating The Best Home-Baked Japanese Cheesecake Recipe starts with quality ingredients. Here’s what you’ll need for that fluffy, melt-in-your-mouth texture:
- Egg Whites: Fresh is best! Five large egg whites will help you achieve those lovely stiff peaks.
- Cream Cheese: Use a full block of good-quality cream cheese (8 oz) to give that rich flavor.
- Butter: For a delightful smoothness, you’ll need ¼ cup of butter.
- Milk: Half a cup of milk keeps the batter light and dreamy.
- Sugar: Use fine granulated sugar—¼ cup for the batter and another ¼ cup for the meringue.
- Cornstarch and Flour: These two magical ingredients hold everything together; 2 tablespoons of cornstarch and ¼ cup of flour.
Essential tools you’ll need
To nail this recipe, having the right tools is crucial:
- Mixer: A handheld or stand mixer is essential for whipping those egg whites into stiff peaks.
- Baking Pans: Prepare for one 8-inch or two 6-inch cakes.
- Parchment Paper: This will help with easy removal, ensuring a flawless presentation.
- Bain-Marie Setup: A deep baking dish and water for that gentle cooking method, keeping your cheesecake moist.
Happy baking! For further tips, you can check out resources like Serious Eats for in-depth baking insights and techniques.
Step-by-Step Preparation of The Best Home-Baked Japanese Cheesecake
Creating the best home-baked Japanese cheesecake isn’t just about following a recipe; it’s about enjoying the process and embracing the delightful flavors that come along! This cottony soft cheesecake, often seen as a delicacy, can be achieved right in your kitchen. Let’s dive into the steps to bring this beautiful dessert to life!
Gather and Prepare the Ingredients
Before you start mixing things up, gather your ingredients. You’ll need:
- Eggs: 5 large, separated into whites and yolks.
- Cream Cheese: 8 oz (1 bar), softened.
- Butter: ¼ cup, unsalted, for that rich flavor.
- Milk: ½ cup, to keep the batter smooth.
- Sugar: A mix of ¼ cup for the batter and another ¼ cup for the meringue.
- Corn Starch and Flour: To help achieve that airy structure—2 tablespoon corn starch and ¼ cup flour (or make it gluten-free with sweet rice flour).
- Flavoring: Optional vanilla extract or lemon juice to enhance taste.
Make sure your ingredients are at room temperature; this helps them blend better. As you arrange your ingredients, preheat your oven to 330°F and set up a bain-marie (water bath) in a baking dish.
Create the Cake Batter
In a small pot, melt together the cream cheese, butter, and ¼ cup of fine sugar over low heat. Once smooth, take it off the heat and gently mix in the egg yolks. Next, add the corn starch and flour, followed by the milk and any optional flavoring. The batter should be smooth and fluid, almost like a silky cloud. Set it aside while you whip those egg whites.
Whip Egg White Meringue to Stiff Peaks
In a clean mixing bowl, beat the egg whites with a mixer on medium speed until foamy, then gradually add cream of tartar and ¼ cup sugar. Increase the speed to high and whip until stiff peaks form, which means the egg whites should be glossy and hold their shape.
Fold the Meringue into the Batter
Now comes the crucial part! Add a portion of the whipped egg whites into your cake batter. Gently mix using a folding technique—this prevents deflating the airy mixture. Repeat until all the egg whites are incorporated. This step is vital for achieving that characteristic bounce in your Japanese dessert.
Prepare the Baking Setup and Bake
Carefully pour the batter into your prepared baking pan lined with parchment paper. Place it into the bain-marie in your preheated oven. Bake for 25 minutes at 330°F, then lower the temperature to around 245–265°F for an additional 45 minutes. This gradual temperature change helps prevent cracks.
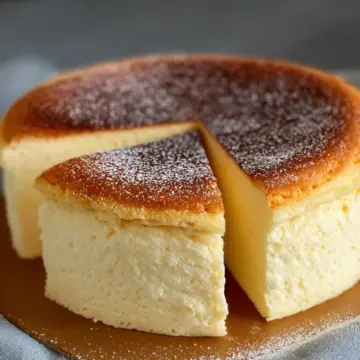
Let your cheesecake rest in the oven for about 10 minutes after baking, then remove it and flip it onto a plate. Voilà! Your creamy, fluffy Japanese cheesecake is ready to impress. Feel free to dress it up with fresh fruits or a dusting of powdered sugar.
For more culinary tips and techniques, check out reputable sources like BBC Good Food or Serious Eats. Happy baking!
Variations on The Best Home-Baked Japanese Cheesecake
Matcha-flavored Japanese cheesecake
If you're a fan of the delicate flavor of matcha, you'll love this twist on The Best Home-Baked Japanese Cheesecake Recipe. Simply add about 2 tablespoons of matcha powder to the egg yolk batter. This not only lends a lovely green hue but also a rich, earthy taste that's a favorite among dessert enthusiasts. Top it off with a dusting of matcha or serve it with a drizzle of honey for an extra touch!
Chocolate version of Japanese cheesecake
Chocolate lovers, rejoice! Transform your cheesecake into a chocolate dream by incorporating 2 tablespoons of cocoa powder into the batter. This variation is wonderfully decadent and offers a delightful contrast to the light, airy texture of the cheesecake. Pair it with fresh berries for a pop of color and flavor.
Experimenting with these variations adds a fun twist, ensuring your homemade Japanese cheesecake is always exciting. Have you tried any other flavors? Share your experiences!
Baking Tips and Notes for The Best Home-Baked Japanese Cheesecake
Avoiding Common Pitfalls
Creating The Best Home-Baked Japanese Cheesecake calls for a delicate balance. One common issue is over-mixing the batter after combining the egg whites—this can lead to a dense cake instead of that dreamy fluffiness you want. Embrace the folding technique to maintain airiness!
Ensuring the Perfect Texture
For the ultimate light and airy texture, pay attention to your oven technique. Start with a higher temperature to get that rise, then lower it gradually. This temperature control is essential—too high, and you risk cracking; too low, and your cake may not rise perfectly. Keep an eye on it, and remember, patience is key!
For more in-depth baking science, check out resources from reliable culinary sources like the American Culinary Federation.
Serving Suggestions for The Best Home-Baked Japanese Cheesecake
Presentation Ideas
Transform your Japanese cheesecake into a stunning centerpiece by creatively presenting it on a beautiful cake stand or platter. Dust the top with powdered sugar for an elegant touch, and add fresh fruit like berries, kiwi, or edible flowers for color. You might even consider a simple chocolate drizzle to enhance visual appeal—just make sure it complements the creamy texture of the cake.
Recommended Pairings and Toppings
For a delightful experience, pair your cheesecake with:
- Silky whipped cream for a creamy contrast
- Sweetened condensed milk for a rich drizzle
- Seasonal fruits like strawberries, raspberries, or peaches for brightness
- A sprinkle of matcha powder or cocoa powder for added flavor
Each of these toppings enhances the unique characteristics of The Best Home-Baked Japanese Cheesecake Recipe, ensuring every bite is simply unforgettable! Feel free to get creative and experiment with combinations for a personalized touch.
Time Breakdown for The Best Home-Baked Japanese Cheesecake
Preparation Time
Getting started with your Japanese cheesecake is quick and easy—set aside just 20 minutes for preparation. This includes gathering your ingredients, separating the eggs, and mixing that delightful batter.
Cooking Time
The baking process is where the magic happens! Allocate about 70 minutes for cooking. This time ensures your cheesecake rises beautifully and develops that iconic, fluffy texture.
Total Time
In total, you'll need about 1 hour and 30 minutes from start to finish. Perfect for a weekend baking project or when you're hosting friends! Get your tools ready and bring a little piece of Japan into your home.
If you're interested in mastering other delectable desserts, consider checking out tasty cake recipes that complement this light and airy cheesecake!
Nutritional Facts for The Best Home-Baked Japanese Cheesecake
If you're curious about the nutritional aspects of The Best Home-Baked Japanese Cheesecake Recipe, here’s a quick breakdown to help you enjoy guilt-free!
Calories
One slice of this delightful cheesecake typically contains around 250 calories, offering a satisfying dessert option that pairs well with coffee or tea.
Protein
Packed with protein thanks to the eggs and cream cheese, each serving provides approximately 7 grams of protein, giving you a little boost while indulging your sweet tooth.
Sugars
With a subtle sweetness, this cheesecake contains about 15 grams of sugars per slice, allowing you to enjoy a treat without overwhelming your palate.
So whether you're prepping for a gathering or simply treating yourself, this cheesecake is a delicious balance of flavor and nutrition! For more details on ingredients and tips for baking, check out this article.
FAQs about The Best Home-Baked Japanese Cheesecake
What makes Japanese cheesecake different from regular cheesecake?
Japanese cheesecake distinguishes itself from traditional cheesecake through its airy, light, and fluffy texture, often described as a delicate soufflé. This unique quality comes from the use of meringue—a whipped egg white mixture that is folded into the batter, creating a signature jiggly effect. While regular cheesecake typically features a denser, creamier consistency, Japanese cheesecake captivates with its cloud-like fluffiness, making it a delightful treat.
How can I store leftover cheesecake properly?
To keep your best home-baked Japanese cheesecake fresh, wrap it tightly with plastic wrap or store it in an airtight container in the fridge. It’s best consumed within 3-5 days, as the cheesecake can lose its airy texture over time. However, if you freeze it, slice the cheesecake, wrap individual pieces in plastic, and store them in a freezer-safe bag. Thaw properly when you're ready to enjoy!
Can I make this cheesecake gluten-free?
Absolutely! To create a gluten-free version of the best home-baked Japanese cheesecake, substitute all-purpose flour with sweet rice flour (Mochiko). This special ingredient provides a similar texture while ensuring everyone can enjoy this delectable dessert. Remember to double-check that your baking powder and cornstarch are also gluten-free.
Conclusion on The Best Home-Baked Japanese Cheesecake
In conclusion, The Best Home-Baked Japanese Cheesecake Recipe by Kat Lieu is a delightful treat that you can easily master at home. Its fluffy texture and subtle sweetness make it a perfect dessert for any occasion. Don’t be afraid to play with flavors—explore while enjoying your baking journey!
The Best Home-Baked Japanese Cheesecake Recipe by Kat Lieu
Equipment
- Mixer
- Pot
- oven
- bain-marie
- baking pans
- parchment paper
Ingredients
Egg White Meringue (Stiff Peaks)
- 5 large egg whites
- ¼ teaspoon cream of tartar or vinegar or lemon juice
- ¼ cup fine granulated sugar Not confectioner sugar
Cake Batter
- 5 large egg yolks
- 8 oz cream cheese 1 bar
- ¼ cup butter
- ½ cup milk 125ml
- ¼ cup fine granulated sugar
- 2 tablespoon corn starch magic ingredient
- ¼ cup flour use rice flour or Mochiko for gluten-free
Optional Toppings
- strawberries
- confectioner sugar
- fruits of your choice
- honey
- matcha powder
Instructions
Preparation
- Separate 5 beautiful eggs. Place the egg yolks in a bowl, and the egg whites in a mixer bowl.
- Place the butter, cream cheese and ¼ cup of fine sugar into a pot over low-heat. Allow the ingredients to melt, and mix together into a beautifully smooth batter mixture.
- Remove the pot from heat, and add the egg yolks into the batter mixture. Mix well, but gently.
- Add the cornstarch and flour. Once again, mix well. Clumps should disappear.
- Add milk and optionally vanilla extract or other flavors of your choice. Mix well.
- Set aside the batter as you beat the egg whites into stiff peaks.
- Pre-heat oven to 330F. Prepare a bain-marie by putting water in a deep rectangular baking pan or dish. Place into the oven.
- Prepare baking pans— with these ingredients, you can bake one 8-inch cake or two 6-inch cakes. Line the bottoms of the baking pans with circular parchment paper, and the inside sides with rectangular strips of parchment paper.
- Once you achieve stiff peaks, place some beaten egg white into the batter and mix together. Repeat this step two more times.
- Pour the batter into the rest of the egg whites and mix together using folding techniques.
- Pour the well-incorporated, but not over-mixed batter into the baking pan(s).
- Bake bain-marie style for 25 minutes at 330F. Adjust temperature if necessary.
- After 25 minutes, if your cake has not risen, give it time to rise or adjust temperature. Crack open the oven door slightly and keep it open for 10 seconds, Lower the oven temperature to about 245-265F, and bake for an additional 45 minutes.
- Allow your cake to rest in the oven after baking for about 10 minutes.
- Remove from the oven carefully.
- Place a sheet of parchment paper over the cake. Place a plate over the cake and parchment paper. Flip the cake upside down so the top of it is now the bottom while resting on the parchment paper over the plate.
- Replace the bottom parchment paper of the cake, and carefully flip the cake again with the serving plate on top.
- Play with the bouncy jiggly-ness of the cake. Serve warm or chill in the fridge.
Leave a Reply